TL;DR:
- Homeowners can diagnose heat pump issues using pressure and temperature tests with proper safety precautions.
- Regular in-place testing helps identify performance losses that lab ratings may not reflect in real conditions.
- Professional help is necessary for refrigerant adjustments and resolving complex issues beyond basic troubleshooting.
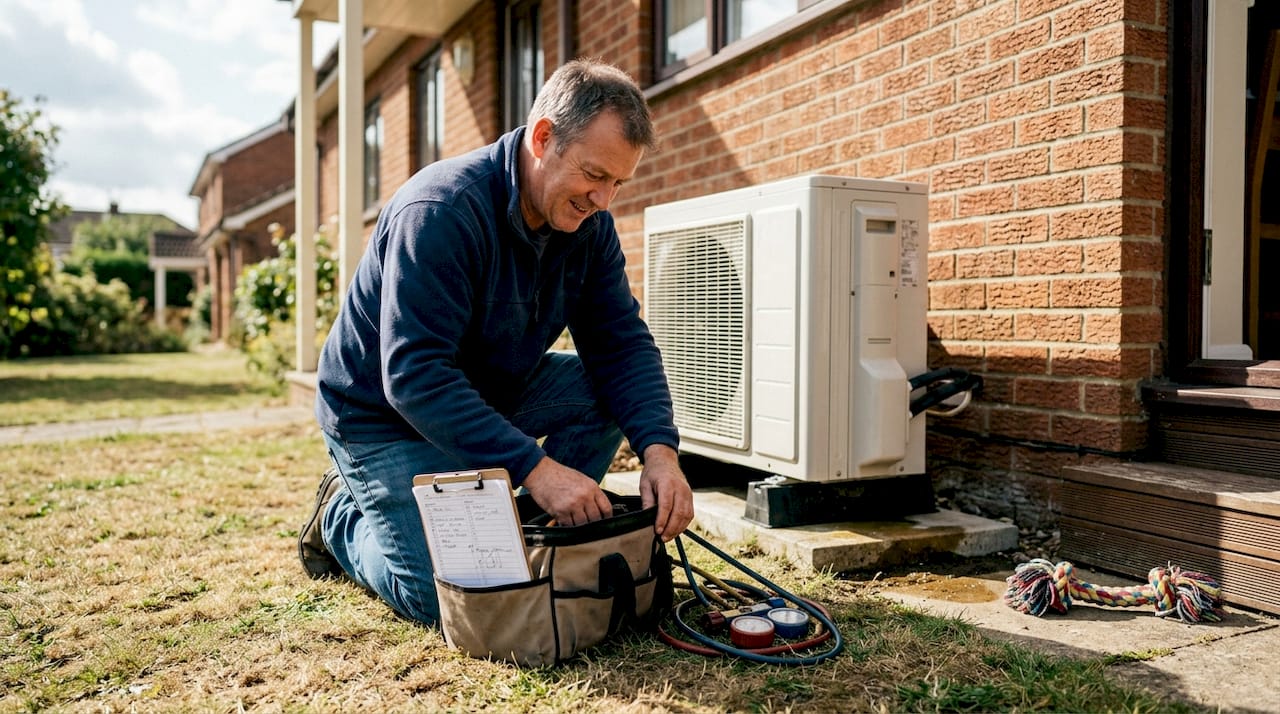
Your heat pump runs quietly in the background until one bitter January morning it simply can’t keep up, and your utility bill arrives looking like a small mortgage payment. Most homeowners only notice a problem after comfort has already dropped or costs have already climbed. The good news is that you don’t need to be a certified technician to catch early warning signs. With the right tools, a clear process, and a solid understanding of what the numbers mean, you can test your heat pump’s performance yourself, diagnose issues before they become expensive, and know exactly when to call a professional.
Table of Contents
- What you need before starting a heat pump test
- How to perform a basic heat pump performance test
- Interpreting your test results and understanding efficiency
- Troubleshooting, common mistakes, and when to call a pro
- Why real-world testing reveals more than lab results
- Next steps: get support or upgrade your heat pump
- Frequently asked questions
Key Takeaways
| Point | Details |
|---|---|
| Safety comes first | Power down your system and never open refrigerant lines without certification. |
| Use correct tools | A manifold gauge set and your manual are crucial for reliable pressure and temperature checks. |
| Check benchmarks | Compare test results to COP and pressure tables for Canadian temperatures to spot problems early. |
| DIY has limits | If readings fall outside norms or you see leaks, always call a certified technician before taking action. |
What you need before starting a heat pump test
Now that you know what’s at stake, let’s get prepared for hands-on testing. Skipping the preparation stage is the single biggest mistake homeowners make, and it can turn a straightforward check into a dangerous situation.
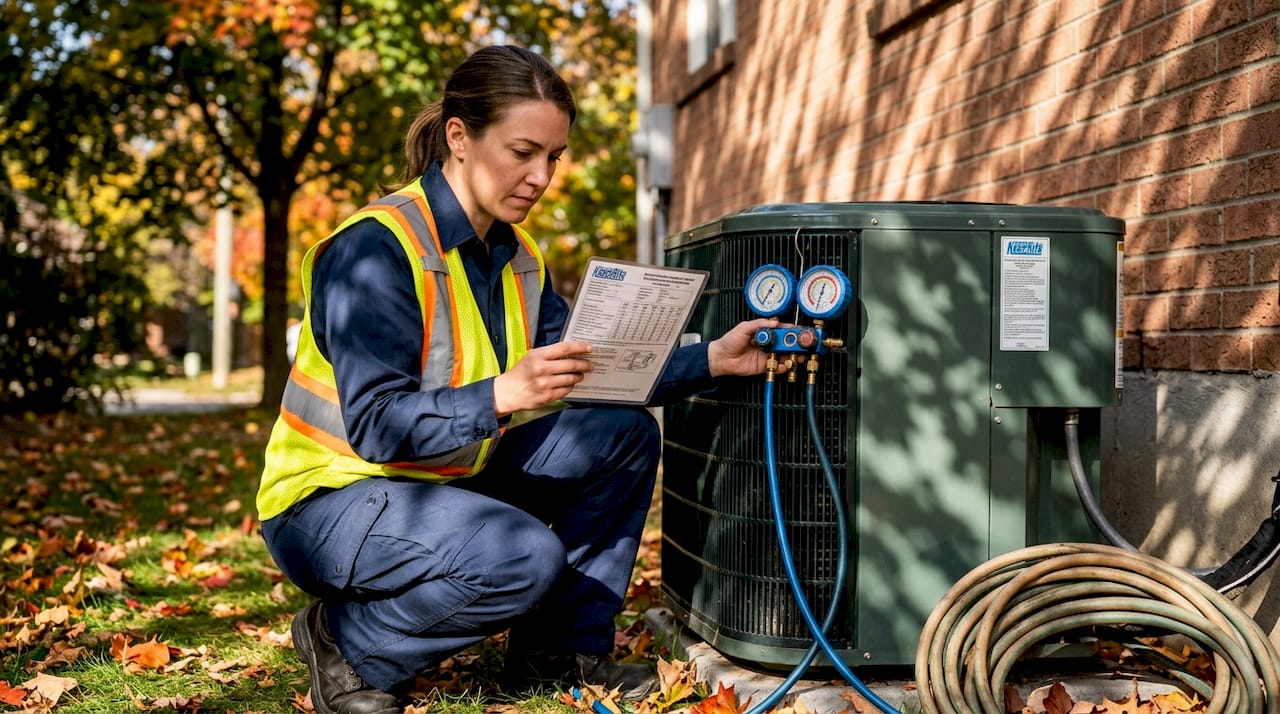
Safety comes first, every time. Before you touch anything, power down the unit completely at the breaker. Wear insulated gloves and safety glasses. Refrigerant lines carry high pressure and can cause serious injury if mishandled. Never attempt to open the refrigerant circuit yourself. That boundary is firm, and we’ll come back to it throughout this guide.
Here’s what you’ll need to gather before you start:
- Manifold gauge set (matched to your refrigerant type, usually R-410A or R-32 in newer Canadian systems)
- Digital thermometer with probe attachments
- Manufacturer’s service manual for your specific model
- Notepad or phone to record readings
- Flashlight for inspecting tight spaces around the unit
- Safety glasses and insulated gloves
The manifold gauge set and basic safety prep are non-negotiable starting points. Without a proper gauge set matched to your refrigerant type, your readings will be meaningless or misleading.
| Tool | Purpose | Where to find it |
|---|---|---|
| Manifold gauge set | Measure suction and discharge pressure | HVAC supply store |
| Digital thermometer | Check supply and return air temps | Hardware store |
| Manufacturer’s manual | Compare readings to spec charts | Manufacturer website |
| Notepad | Record and track readings over time | Anywhere |
Know your refrigerant type before you buy gauges. Check the data plate on your outdoor unit. It lists the refrigerant type and the factory-charged amount. Your service ports are typically located on the refrigerant lines near the outdoor unit, covered by small caps. Do not remove those caps until your gauges are ready and you have reviewed the maintenance workflow overview to understand the full sequence.
Important: If you smell refrigerant, see oily residue near connections, or hear hissing, stop immediately. These are signs of an active leak. Do not proceed with testing. Call a certified technician.
A good maintenance guide will also help you understand how the testing process fits into the broader rhythm of keeping your system healthy year-round. Preparation isn’t just about tools. It’s about knowing your limits before you start.
How to perform a basic heat pump performance test
Once you’re prepared and safe, here’s exactly how to test your heat pump. Follow these steps in order and don’t rush.
- Confirm power is off at the breaker before attaching any gauges to the service ports.
- Locate the service ports on the suction line (larger, insulated pipe) and the discharge line (smaller pipe) near the outdoor unit.
- Attach the manifold gauge hoses carefully. Blue hose goes to the low-pressure suction port. Red hose goes to the high-pressure discharge port.
- Restore power to the unit and set your thermostat to heating or cooling mode, depending on the season.
- Allow the system to run for 3 to 5 minutes before recording any readings. The system needs to stabilise before pressures are meaningful.
- Record both pressure readings along with the outdoor ambient temperature and indoor return air temperature.
- Compare your readings to the pressure chart in your manufacturer’s manual. Charts are specific to refrigerant type and ambient temperature.
Pro Tip: Take readings at the same time of day across multiple tests. Ambient temperature has a significant effect on pressure readings, so consistency makes your data far more useful over time.
Pressure readings compared to manufacturer specs are your primary diagnostic tool. If your suction pressure is too low, the system may be undercharged. If it’s too high, there could be a blockage or overcharge. Neither situation should be corrected by a homeowner.
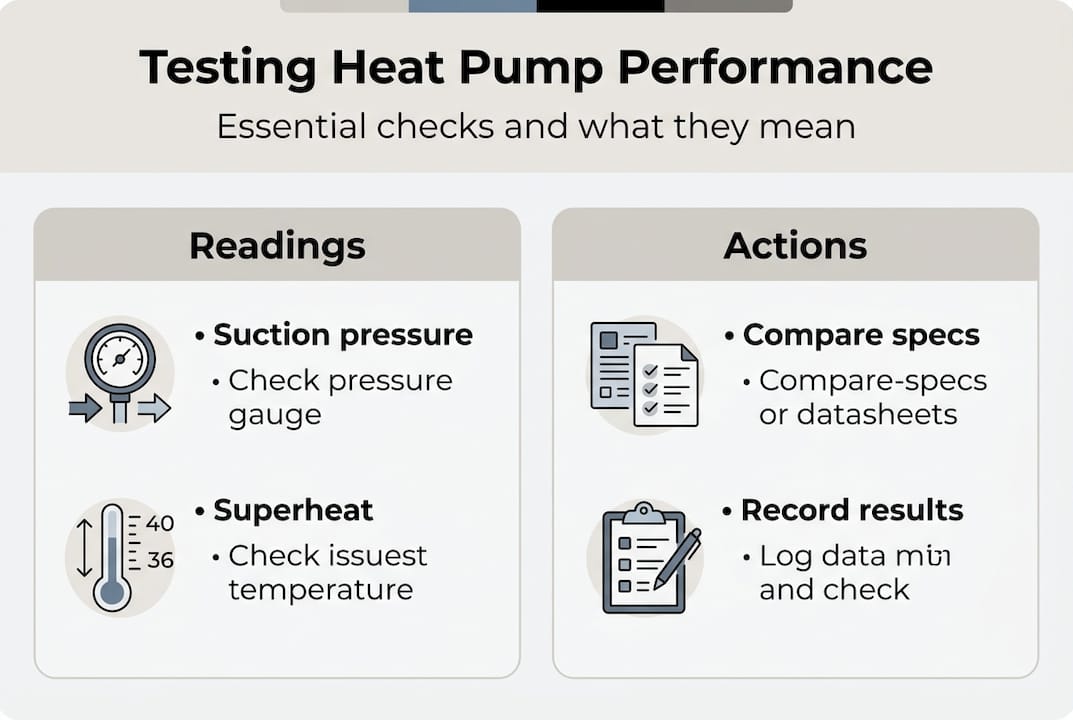
For a more advanced check, superheat and subcooling checks require a temperature and pressure chart specific to your refrigerant. Superheat measures how much the refrigerant vapour has heated above its boiling point. Subcooling measures how much the liquid refrigerant has cooled below its condensing point. Both values confirm whether the refrigerant charge is correct.
| Reading | Normal range (R-410A, heating mode) | Concern if… |
|---|---|---|
| Suction pressure | 100 to 145 psi | Below 90 or above 160 psi |
| Discharge pressure | 250 to 350 psi | Below 220 or above 400 psi |
| Superheat | 10 to 20°F | Outside this range |
| Subcooling | 10 to 15°F | Outside this range |
Review the maintenance checklist alongside your test to make sure you’re covering all performance factors, not just refrigerant pressure.
Interpreting your test results and understanding efficiency
After taking your readings, it’s time to make sense of those numbers and know what to do next. Raw data is only useful if you understand what it’s telling you.
The most important efficiency metric for a heat pump is the coefficient of performance, or COP. This is the ratio of heat output to electrical energy input. A COP of 3 means the system produces 3 units of heat for every 1 unit of electricity consumed. Field-validated heating COPs show that modern heat pumps in cold climates typically achieve a COP above 2 at around minus 8°C (17°F) and above 1.7 at minus 15°C (5°F). If your system is running auxiliary electric heat constantly at those temperatures, your COP is effectively 1 or lower, which is a red flag.
| Outdoor temperature | Expected COP | Concern if COP is… |
|---|---|---|
| 8°C (47°F) | 3.0 to 4.5 | Below 2.5 |
| minus 8°C (17°F) | 2.0 to 3.0 | Below 1.8 |
| minus 15°C (5°F) | 1.7 to 2.5 | Below 1.5 |
Warning signs to watch for after your test:
- Suction or discharge pressure readings outside the normal range for your refrigerant
- Oil residue around service ports or refrigerant lines, which can signal a slow leak
- Hissing or gurgling sounds during operation
- Auxiliary heat activating at temperatures where your heat pump should handle the load alone
- Unexplained increases in your monthly electricity bill without a change in usage habits
Common pressure reading errors and warning signs often point to refrigerant issues, but they can also indicate a failing compressor, a dirty coil, or a blocked filter. Don’t assume refrigerant is always the culprit.
Pro Tip: Keep a simple log of your readings with the date and outdoor temperature. Trends matter more than single snapshots. A gradual drop in suction pressure over six months is far more informative than one low reading.
If your results fall outside normal ranges, document everything clearly and contact a certified technician promptly. Explore options for boosting heat pump efficiency while you wait, and look into preventing costly repairs with proactive maintenance habits.
Troubleshooting, common mistakes, and when to call a pro
Sometimes, even careful home testing isn’t enough. Here’s how to troubleshoot next steps and know when to trust an expert.
The most common mistakes homeowners make during heat pump testing:
- Skipping the power-off step before attaching gauges, which risks injury and equipment damage
- Misreading the gauge scale by confusing the R-410A scale with the R-22 scale on a dual-scale gauge set
- Taking readings before the system stabilises, which produces inaccurate data
- Attempting to add or remove refrigerant based on their own readings, which is illegal without certification in Canada
- Ignoring the manufacturer’s pressure chart and relying on generic online values that may not apply to their specific model
For basic troubleshooting before calling a pro, check these first:
- Is the outdoor unit clear of debris, ice, or snow blocking airflow?
- Are all electrical connections at the disconnect box secure and undamaged?
- Is the air filter clean? A clogged filter can cause pressure readings that look like refrigerant problems.
- Is the indoor air handler’s blower running properly?
Best practice is to avoid adjusting refrigerant without certification. DIY checks should stop at measurements, not adjustments. This protects your warranty, your safety, and your system’s long-term reliability.
Canadian HVAC regulations require that any refrigerant handling be performed by a certified technician holding a valid refrigerant handling certificate under the Canadian Environmental Protection Act. Ignoring this isn’t just risky. It can void your manufacturer’s warranty and expose you to fines.
Pro Tip: If your readings don’t match any scenario in your manual, don’t guess. Unusual combinations of high and low pressures can indicate multiple issues occurring simultaneously, and a professional diagnostic is the only reliable path forward.
Understand the full value of professional maintenance before deciding to go it alone on complex issues.
Why real-world testing reveals more than lab results
With the main steps covered, let’s step back and ask: what do these numbers and tests really mean for your home?
Here’s a perspective most articles skip. The COP and efficiency ratings printed on your heat pump’s data plate were measured under controlled laboratory conditions. Lab standards like AHRI and ENERGY STAR don’t account for your specific installation, your duct leakage, your unit’s age, or the fact that Canadian winters regularly push systems well beyond their rated test conditions.
A heat pump that earns a stellar lab rating may perform modestly in a poorly insulated home with undersized ductwork. Conversely, a well-maintained older unit in a tight, well-insulated home may outperform its rated numbers. The only way to know what your system is actually doing is to test it in place, in your conditions, across multiple seasons.
Routine field testing is also the best early warning system you have. Ratings won’t tell you that your refrigerant charge has drifted slightly over three winters. Your gauge readings will. Explore energy rating details to understand what those official numbers actually measure, and then trust your own field data to fill in the gaps.
Next steps: get support or upgrade your heat pump
If your testing has revealed issues beyond a simple filter change or airflow fix, the smartest move is to connect with a qualified professional before the problem worsens.

At CoolFix, we support Canadian homeowners through every stage of heat pump ownership, from routine maintenance to full system replacement. If your readings are consistently out of range, our guides on heat pump replacement can help you evaluate your options clearly. Not sure whether to repair or replace? Our advice on choosing repair services walks you through what to look for in a qualified technician. Browse our full range of HVAC services to find the right support for your situation and keep your home comfortable all year long.
Frequently asked questions
How often should I test my heat pump’s performance?
Test your heat pump at least once a year, ideally before the heating season begins or after a prolonged cold snap. Annual checks catch gradual efficiency losses before they show up on your utility bill.
Can I test refrigerant levels without a professional?
You can safely check system pressures and line temperatures using a manifold gauge set, but only certified professionals should add or remove refrigerant charge. Adjusting refrigerant without certification is illegal under Canadian environmental regulations.
What is a ‘good’ COP for a residential heat pump in Canada?
Aim for a COP above 2 at minus 8°C (17°F) and above 1.7 at minus 15°C (5°F) for reliable performance in cold Canadian climates. Anything lower suggests the system is working harder than it should.
What warning signs mean I should call a technician?
Call for service if you notice oil residue or hissing near refrigerant lines, abnormal pressure readings, or unexplained spikes in your electricity bill. These signs often point to a refrigerant leak or compressor issue.
Are heat pump laboratory performance ratings realistic?
Lab ratings establish a useful baseline, but real-world results vary based on installation quality, system age, and local climate conditions. Field testing in your own home gives you a far more accurate picture of actual performance.
Recommended
- Heat Pump Troubleshooting Guide for Canadian Technicians – CoolFix Appliance & HVAC Service
- Optimized Heat Pump Maintenance Workflow for Technicians – CoolFix Appliance & HVAC Service
- Master Heat Pump Repair Workflow for Canadian HVAC Techs – CoolFix Appliance & HVAC Service
- Appliance Repair Heat Pump Guide for Efficient Maintenance – CoolFix Appliance & HVAC Service
- Effective HVAC Troubleshooting Process for Homeowners
0 Comments