

Frequent callbacks signal missed commissioning steps that cost you time and reputation. A systematic approach to heat pump commissioning reduces these callbacks and improves installation quality across Canadian climate zones. This guide walks you through preparation, execution, troubleshooting, and documentation to deliver compliant, efficient installations that satisfy customers and meet CSA and ESA codes.
Table of Contents
- Prerequisites And Preparation
- Core Commissioning Steps
- Safety And Compliance Considerations
- Common Mistakes And Troubleshooting
- Expected Results And Outcomes
- Documentation And Reporting
- Enhance Your Heat Pump Installs With CoolFix Solutions
- Frequently Asked Questions
Key Takeaways
| Point | Details |
|---|---|
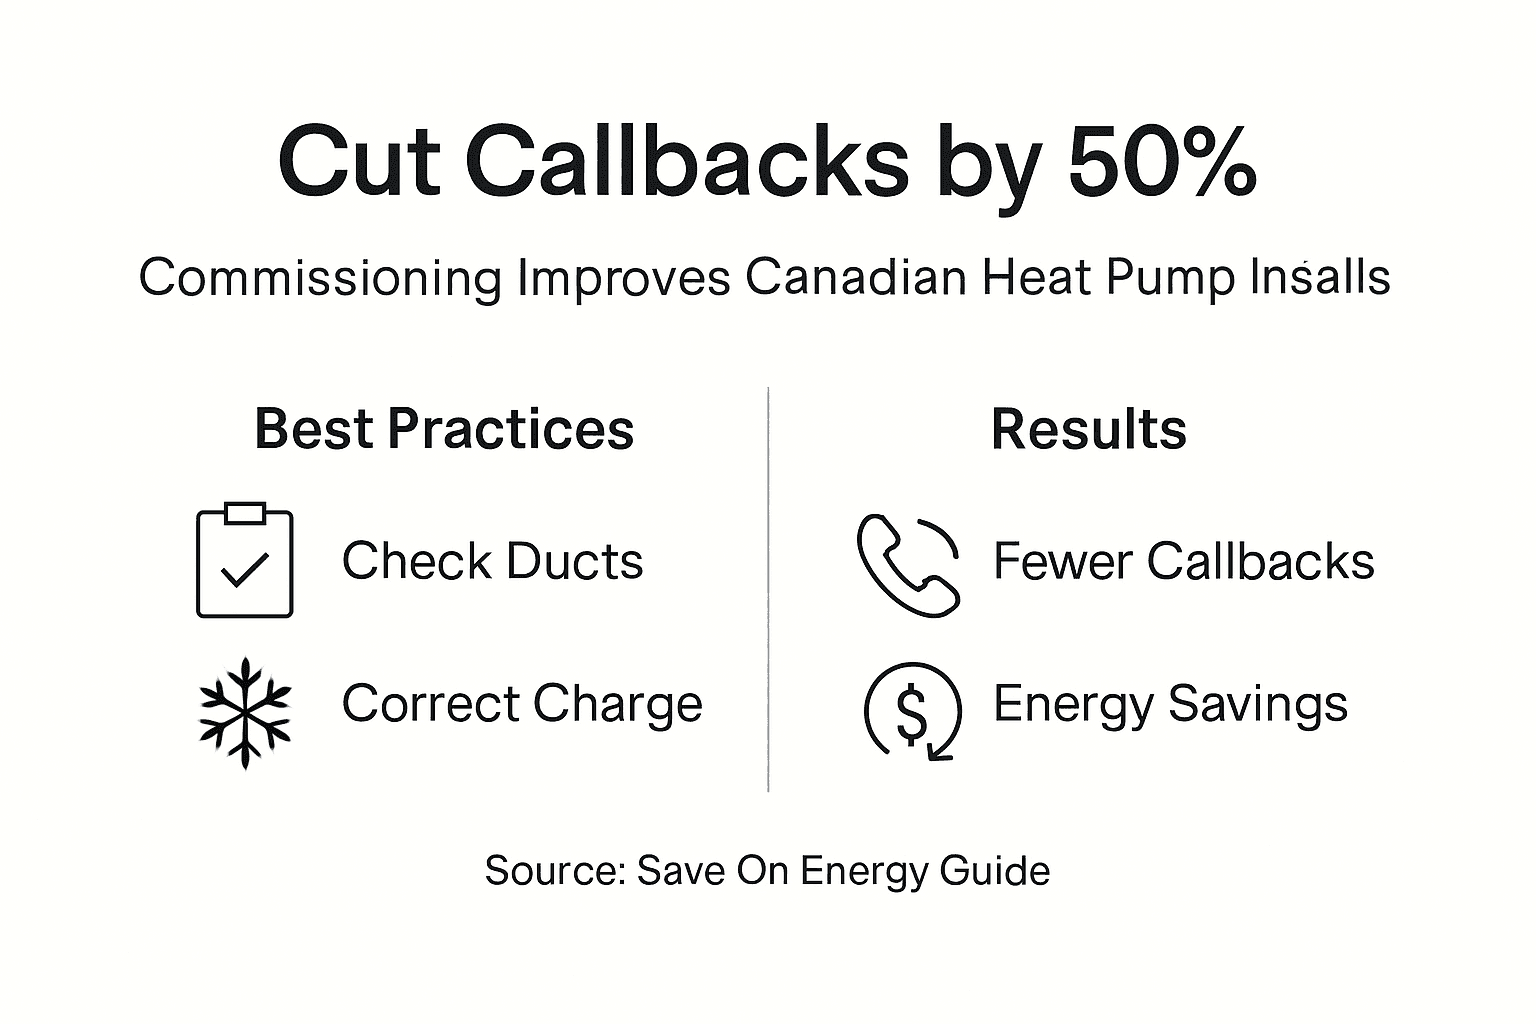
| Proper commissioning reduces callbacks | Quality commissioning cuts callbacks and warranty repairs by up to 50%. |
| Canadian code compliance is mandatory | CSA B52 and ESA electrical permits prevent hazards and ensure legal operation. |
| Stepwise testing covers all systems | Refrigerant charging, airflow verification, and control setup must follow documented procedures. |
| Comprehensive reports support warranties | Detailed documentation including pressures, temperatures, and airflow validates proper installation. |
| Outdoor placement affects performance | Units installed above snow level with proper clearances maintain efficiency through winter. |
Prerequisites and Preparation
Successful commissioning starts before you power up the system. Gather your installation contract with equipment specs, wiring diagrams, and test plans. These documents provide the baseline for verification and accountability throughout the process.
Verify all permits and Electrical Safety Authority approvals before beginning. ESA compliance prevents electrical hazards and legal issues. Missing permits can halt your project and damage your reputation.
Select the outdoor unit site carefully. Install units above expected snow levels with vibration isolation to maintain airflow during Canadian winters. Position equipment away from bedrooms and noise-sensitive zones to avoid customer complaints. Review our heat pump placement guide for detailed site selection criteria.
Assemble your commissioning toolkit:
- Refrigerant pressure gauges calibrated within the past year
- Digital airflow meters for CFM measurement
- Static pressure testers for duct system evaluation
- Control diagnostic tools compatible with the specific heat pump model
- Duct sealing materials and testing equipment
Ensure duct layouts and electrical plans are accessible. You’ll reference these throughout commissioning to verify installation matches design specifications.
Pro Tip: Create a standardized checklist based on the Save On Energy commissioning guide to avoid missing critical steps during busy installation days.
| Preparation Item | Purpose | Canadian Standard |
|---|---|---|
| Installation contract | Performance baseline | CSA requirements |
| ESA permits | Electrical safety | Provincial codes |
| Refrigerant gauges | Charge verification | CSA B52 |
| Airflow meters | CFM measurement | Design specs |
| Site inspection | Placement validation | Municipal codes |
Core Commissioning Steps
Start with static pressure testing on the duct system. This determines correct blower sizing and identifies restrictions that degrade performance. Record readings at supply and return plenums before adjusting fan speeds.
Measure and adjust refrigerant charge following CSA B52 and C273.5-11 standards. Subcooling and superheat values must fall within manufacturer specifications. Incorrect charge causes efficiency losses and premature compressor failure.
Configure control settings for Canadian climate conditions:
- Set compressor lockout at 3°C or lower to optimize efficiency
- Program auxiliary heat thresholds based on design temperatures
- Configure defrost cycles for local climate patterns
- Set temperature differentials and safety limits
- Verify emergency heat operation
Seal all ductwork joints and verify airflow meets design targets. Leakage reduces system capacity and wastes energy. Measure supply air temperature split to confirm adequate heat transfer. Reference our heat pump troubleshooting guide if readings fall outside acceptable ranges.
Integrate smart thermostats or advanced controls according to our heat pump wiring guide. Test all operational modes including heating, cooling, emergency heat, and fan-only. Verify communication between indoor and outdoor units.
Pro Tip: Document baseline performance data during commissioning. These measurements become invaluable for diagnosing future issues and demonstrating system degradation during warranty claims.
| Commissioning Step | Target Range | Verification Method |
|---|---|---|
| Static pressure | 0.5 to 0.8 IWC | Manometer at plenum |
| Refrigerant charge | ±5% of spec | Subcooling/superheat |
| Airflow CFM | 350-450 per ton | Airflow meter |
| Temperature split | 15-25°C heating | Digital thermometers |
| Control response | <2 min | Mode cycling test |
Follow Canadian heat pump installation codes throughout the process. These standards protect both you and your customers. Apply lessons from our heat pump repair workflow to anticipate common issues before they become callbacks.
Safety and Compliance Considerations
Electrical permits through ESA are not optional. Required inspections verify safe wiring and prevent fire hazards. Schedule inspections early to avoid project delays.
Follow CSA standards for refrigerant handling and system installation. Proper recovery, evacuation, and charging procedures protect the environment and prevent equipment damage. Use EPA-approved recovery equipment and maintain accurate logs.
Outdoor unit placement requires attention to multiple safety factors:
- Minimum clearances from property lines and combustible materials
- Adequate drainage to prevent ice buildup
- Protection from falling snow and ice from roofs
- Vibration isolation to minimize noise transmission
- Accessibility for service and maintenance
Document all inspections and maintain records for safety audits. Comprehensive documentation protects you from liability and demonstrates professional standards. Store copies with installation contracts and warranty information.
“Electrical permits and inspections per ESA codes are essential to avoid hazards and legal issues. Non-compliance can result in equipment failure, property damage, and significant liability exposure.”
Review installation codes compliance requirements for your jurisdiction. Provincial and municipal codes may impose additional requirements beyond federal standards. Check electrical safety and permitting guidelines before starting any project.
Common Mistakes and Troubleshooting
Incorrect refrigerant charge tops the list of commissioning errors. Poor charging practices reduce efficiency by up to 30% and shorten compressor life. Always verify charge with accurate gauges under stable operating conditions.
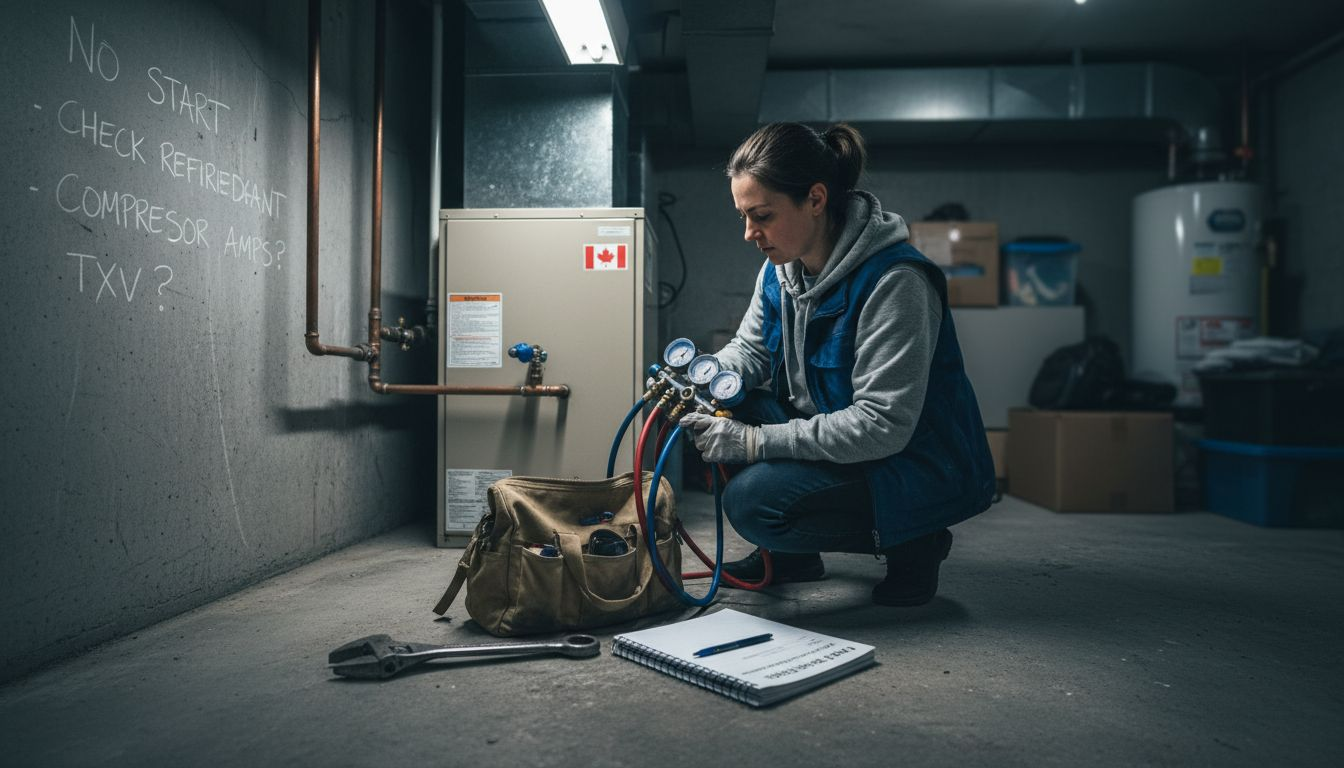
Inadequate airflow measurement leads to customer complaints about comfort and high utility bills. Use calibrated instruments and measure at multiple points. Static pressure readings reveal duct restrictions that simple airflow measurements might miss.
Control configuration errors cause unnecessary auxiliary heat operation and elevated energy costs. Double check these critical settings:
- Compressor lockout temperature
- Auxiliary heat differential and lockout
- Defrost initiation and termination points
- Fan delays and overrides
- Temperature sensor calibration
Poor outdoor unit placement creates ongoing service issues. Units buried in snow or subjected to ice buildup from roof drainage fail prematurely. Review site conditions during winter months to identify potential problems.
Pro Tip: Photograph outdoor unit installation from multiple angles during commissioning. These images document proper placement and help identify changes to site conditions during future service calls.
Rushed commissioning skips essential verification steps. Allocate adequate time for thorough testing even when schedule pressures mount. The two to four hours invested in proper commissioning prevents dozens of hours addressing callbacks. Apply strategies from our guide on common commissioning mistakes and fixes.
Develop systematic checklists following the heat pump best practice guide. Standardized procedures reduce errors and improve consistency across your team. Reference our heat pump repair best practices for additional troubleshooting guidance.
Expected Results and Outcomes
Plan for two to four hours to complete thorough commissioning. This timeframe varies with system complexity and site conditions. Complex installations with multiple zones or integration challenges require additional time.
Successful commissioning delivers measurable improvements:
- Refrigerant charge within ±5% of manufacturer specifications
- Static pressure readings in optimal range for blower performance
- Airflow rates matching design calculations
- Temperature splits confirming adequate heat transfer
- All control modes operating correctly
Customer callbacks drop significantly after proper commissioning. Quality installations reduce callbacks and warranty repairs by up to 50%. This improvement directly impacts your bottom line and reputation.
| Performance Metric | Target Value | Measurement Tool |
|---|---|---|
| Refrigerant charge accuracy | ±5% of spec | Pressure gauges |
| Airflow per ton | 350-450 CFM | Flow meter |
| Static pressure | 0.5-0.8 IWC | Manometer |
| Temperature split | 15-25°C | Thermometers |
| Control response time | <2 minutes | Stopwatch |
Enhanced energy efficiency extends equipment lifespan and improves customer satisfaction. Systems commissioned to specification operate quieter, maintain comfort more consistently, and require less frequent service. Document these benefits for customers during the final walkthrough.
Verify performance improvements through systematic data collection. Temperature and pressure readings provide objective evidence of proper operation. Compare actual performance against design specifications and manufacturer benchmarks. Apply insights from our heat pump repair workflow to optimize results.
Review commissioning success benchmarks to understand industry standards. These metrics help you evaluate your work and identify areas for improvement.
Documentation and Reporting
Comprehensive commissioning reports validate your professional work and protect against future disputes. Include critical measurements such as compressor suction and head pressures, airflow CFM, supply and return temperatures, and refrigerant line temperatures. Record ambient conditions during testing since outdoor temperature affects performance readings.
Document every test, setpoint adjustment, and configuration change. Note any deviations from design specifications and corrective actions taken. This detail demonstrates thoroughness and provides valuable troubleshooting information for future service.
Include these essential elements:
- Equipment model and serial numbers
- Refrigerant type and charge amount
- Static pressure readings at multiple points
- Airflow measurements and adjustments
- Control settings and programming details
- Electrical measurements including voltage and amperage
- Duct sealing verification results
Educate customers on system operation and warranty coverage during the final walkthrough. Explain thermostat controls, filter maintenance, and signs of potential problems. Provide written operating instructions and emergency contact information.
Maintain records for future maintenance and compliance audits. Digital copies stored in cloud systems ensure accessibility from any location. Link commissioning reports to customer accounts for quick reference during service calls. Follow documentation standards outlined in our heat pump repair best practices.
Use standardized templates from the commissioning report template to ensure consistency. Templates reduce documentation time and prevent missing critical information.
Enhance Your Heat Pump Installs with CoolFix Solutions
CoolFix delivers expert tutorials and guides tailored specifically for Canadian heat pump installations. Our resources help you reduce installation time, minimize errors, and improve customer satisfaction.
Access comprehensive guides covering every aspect of heat pump service. Our heat pump replacement tutorial walks through complete system changeouts. Plan projects accurately using our heat pump installation timeline. Master electrical connections with our detailed heat pump wiring guide. These professional resources complement the commissioning best practices covered in this guide.
Frequently Asked Questions
What tools are essential for heat pump commissioning?
Essential tools include refrigerant gauges, airflow meters, static pressure testers, control diagnostic tools, and duct sealing materials. Having calibrated instruments ensures precision during critical measurements. Invest in quality tools that provide accurate readings under field conditions.
How long does the heat pump commissioning process usually take?
Most commissioning jobs require between 2 and 4 hours depending on site conditions and system features. Complex installations with multiple zones or integration challenges need additional time. Proper planning prevents rushed commissioning that misses critical verification steps.
Why is refrigerant charging critical during commissioning?
Refrigerant charging ensures optimal heat transfer and equipment longevity. Following CSA B52 and C273.5-11 standards prevents performance degradation and costly repairs. Incorrect charge reduces efficiency by up to 30% and shortens compressor life significantly.
What common mistakes should I avoid during commissioning?
Avoid incorrect refrigerant charge by using calibrated gauges under stable conditions. Perform accurate airflow and static pressure measurements at multiple points. Set correct controls for compressor lockout at 3°C and configure auxiliary heat properly. Verify proper outdoor unit placement above snow level and complete thorough duct sealing.
Recommended
- Heat Pump Installation Codes: Compliance in Canada – CoolFix Appliance & HVAC Service
- Heat Pump Installation Cost – Maximizing Savings in Canada – CoolFix Appliance & HVAC Service
- Heat Pump Control Systems: Boosting Efficiency in Canada – CoolFix Appliance & HVAC Service
- Heat Pump Placement – Maximizing Efficiency in Canada – CoolFix Appliance & HVAC Service
0 Comments