

Fumbling for the right wiring schematic or missing a key tool can turn a routine Canadian heat pump installation into a time-consuming headache. Safety, code compliance, and reliable performance all hinge on starting with the right resources and following proven steps. This guide breaks down every phase of safe, professional heat pump wiring so you can complete each job with confidence and prevent costly callbacks. Accurate documentation and organized tools set a solid foundation for smooth, code-compliant installations.
Table of Contents
- Step 1: Gather Correct Tools And Wiring Schematics
- Step 2: Shut Off Power And Prepare Circuit Connections
- Step 3: Connect Thermostat, Compressor, And Relay Wires
- Step 4: Secure All Electrical Connections And Insulate
- Step 5: Test Heat Pump Functionality And Verify Operation
Quick Summary
| Key Point | Explanation |
|---|---|
| 1. Gather Essential Tools First | Always assemble a multimeter, voltage tester, wire strippers, and relevant documentation before starting installation to ensure safety and accuracy. |
| 2. Confirm Power is Off | Always verify power is off with a voltage tester after switching off the circuit breaker to avoid electrocution and equipment damage. |
| 3. Follow Wiring Schematics Closely | Utilize the manufacturer’s wiring diagram to avoid errors in connections that could lead to operational issues in the heat pump. |
| 4. Secure and Insulate Connections | Ensure all wiring connections are tight and insulated against moisture to prevent electrical faults or fires in harsh weather conditions. |
| 5. Conduct Thorough Tests Post-Installation | Test the heat pump in all operational modes to ensure functionality and document all readings to assist with future maintenance. |
Step 1: Gather Correct Tools and Wiring Schematics
Before you touch a single wire, you need the right equipment and documentation in front of you. Getting this step right prevents costly mistakes and keeps you working safely throughout the installation.
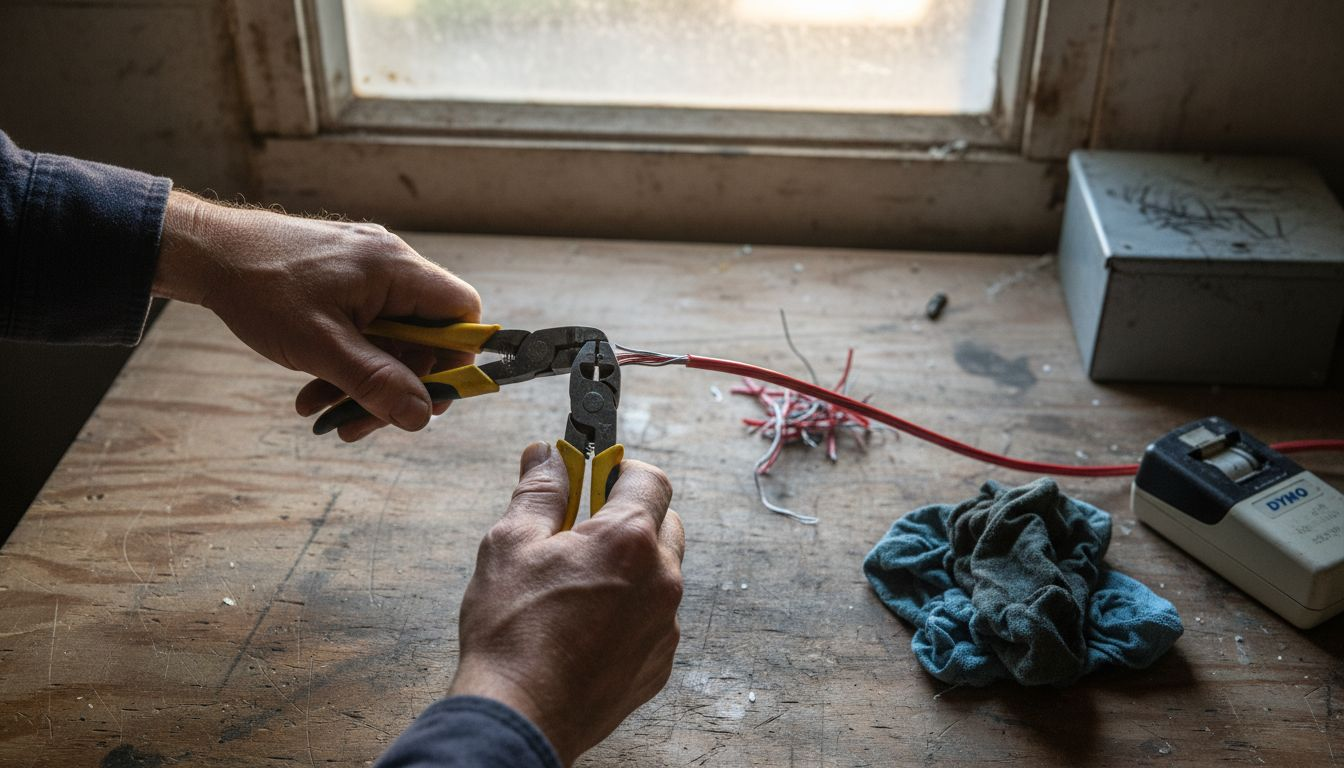
Start by assembling your electrical tools. You’ll need a reliable multimeter to test voltage and continuity before, during, and after connections. A non-contact voltage tester adds an extra safety layer by detecting live wires without direct contact. Grab your wire strippers, needle-nose pliers, and a quality screwdriver set with both flathead and Phillips options.
Temperature and pressure gauges are non-negotiable for heat pump work. These let you verify system performance and catch problems early. Keep a headlamp or work light handy because you’ll often be working in tight spaces where natural light won’t reach.
Collect your wiring schematics before stepping onto the job site. A missing diagram wastes hours and creates safety risks you don’t need.
Now comes the critical part: gathering accurate wiring schematics and documentation. Every Canadian heat pump installation requires the original equipment manufacturer’s wiring diagram. Don’t rely on your memory or a similar unit you installed last month. Pull the diagram from the unit’s documentation package or request it from the supplier.
You’ll also need:
Here is a summary of essential documentation needed for a compliant Canadian heat pump installation:
| Document Type | Purpose | Source |
|---|---|---|
| Manufacturer’s wiring diagram | Guides correct wiring for each specific unit | Supplied with equipment |
| Provincial electrical code | Ensures installation follows local regulations | Provincial regulator or website |
| Installation guidelines | Specifies model-relevant instructions | Manufacturer or supplier |
| Permit requirements | Confirms legal approval and inspection expectations | Local municipality |
| Previous service records | Informs about past issues and upgrades | Previous installer or property owner |
- The Canadian electrical code relevant to your province (updated copies)
- Installation guidelines specific to the heat pump model
- Permit requirements and inspection checklists from your local authority
- Previous service records if you’re upgrading an existing system
Understanding proper heat pump electrical configurations before starting prevents mid-job delays and rewiring. Match the schematic to your specific model number and verify all voltage requirements listed on the nameplate.
Pro tip: Create a digital backup of every schematic you use, organized by date and model number. This reference library saves time on future jobs and protects you if the original paperwork goes missing.
Step 2: Shut Off Power and Prepare Circuit Connections
This is where safety becomes non-negotiable. Cutting power to the heat pump system before touching any wiring protects you from electrocution and prevents damage to sensitive components.
Locate the main electrical disconnect switch for the heat pump unit. This is typically mounted on or near the outdoor condensing unit. Flip it to the off position and wait at least five minutes to allow residual charge to dissipate from capacitors.
Verify the power is actually off using your non-contact voltage tester. Test the main terminals, control wiring, and any accessible points where electricity could be present. This takes 30 seconds and could save your life.
Never assume power is off just because you flipped a switch. Always test with your voltage tester to confirm.
Next, turn off the circuit breaker at the main electrical panel that feeds the heat pump. Locate the breaker labelled for your heat pump circuit, flip it to off, and verify it stays in that position. Loose breakers sometimes jump back to on if they’re failing.
Now you’re ready to prepare your circuit connections for the new installation. Following proper preparation procedures for circuit isolation ensures your work meets provincial electrical codes and safety standards.
Inspect the wiring terminals where you’ll be making connections:
- Check for any corrosion, burn marks, or loose strands of copper
- Ensure terminal screws are tight but not over-torqued
- Verify the wire gauge matches your circuit breaker rating
- Confirm all existing connections are mechanically sound before disturbing them
Strip about one-quarter inch of insulation from each wire end you’ll be connecting. Use your wire strippers carefully to avoid nicking the conductor itself. Damaged copper reduces connection quality and creates heat buildup at that joint.
If you’re working with a system that has existing wiring, photograph or label every connection before disconnecting anything. A quick phone photo saves hours of confusion when you’re trying to remember which wire went where.
Pro tip: Use a piece of painters tape and a marker to label each wire with its source terminal and destination before disconnecting it, then take a photo of your labels for absolute clarity during reconnection.
Step 3: Connect Thermostat, Compressor, and Relay Wires
This step ties your entire control system together. Proper connections here determine whether your heat pump cycles correctly and responds to temperature changes as intended.
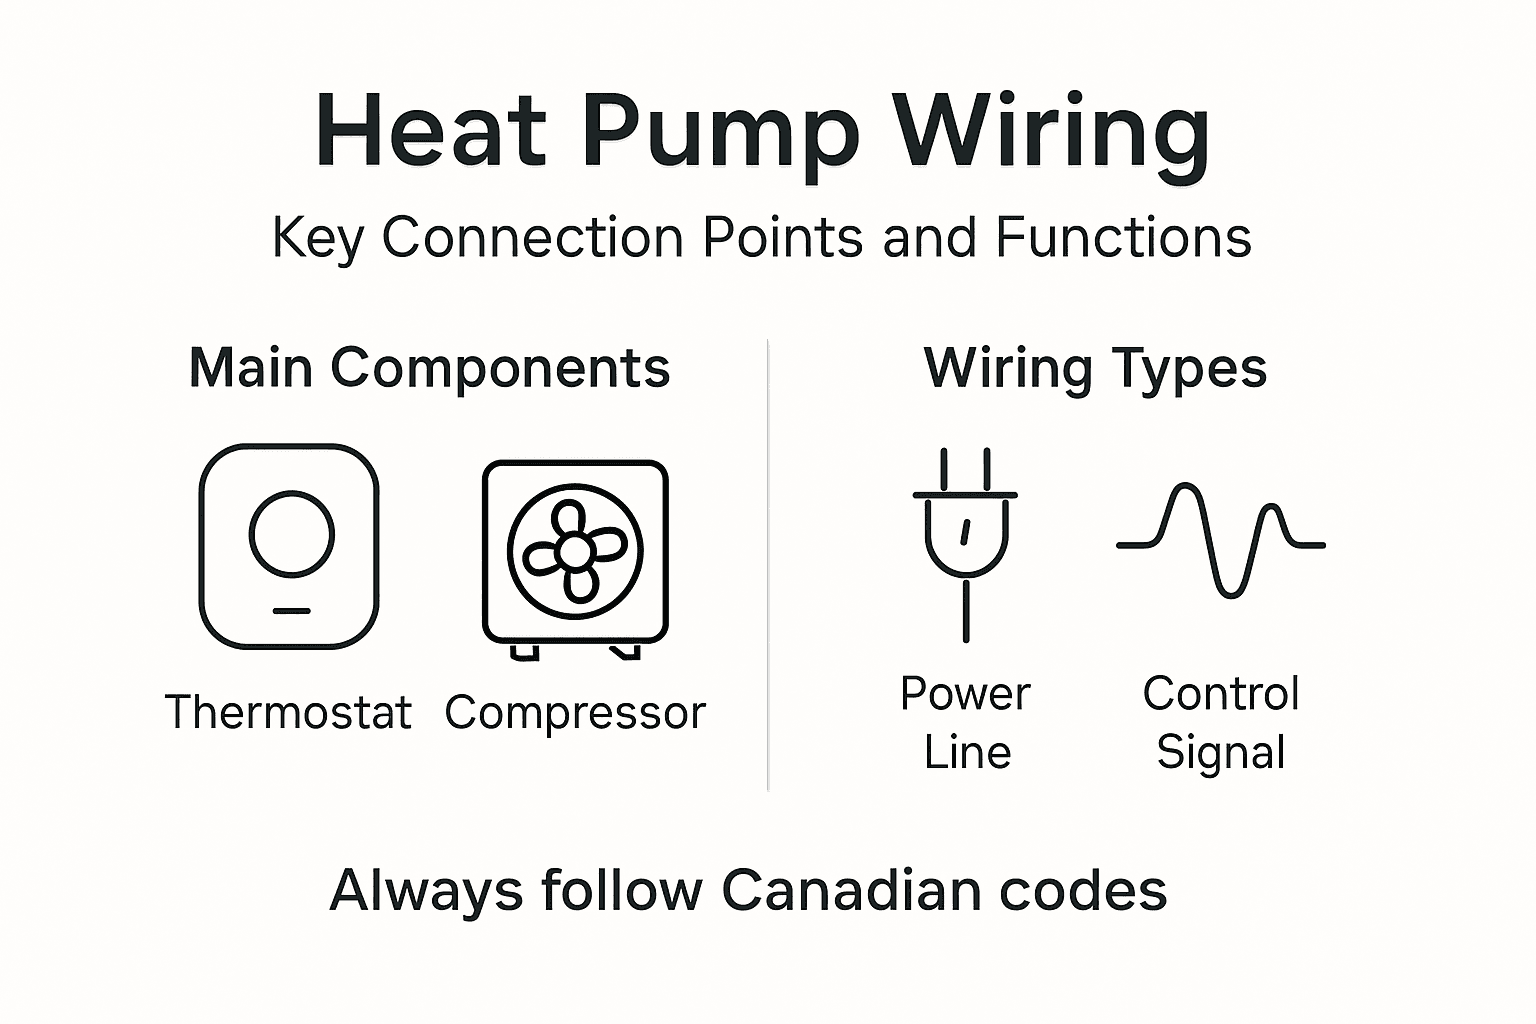
Start with the thermostat wiring. Your control board typically has terminals labelled R (power), C (common), Y (cooling), and W (heating). The R terminal connects to 24-volt power, while the C terminal completes that circuit back to neutral. These two wires establish the constant power your control board needs to operate.
The Y wire signals when cooling is needed, and the W wire signals heating demand. Connect these to their corresponding terminals on your control board. Verify the wire labels match your schematic before inserting them into terminal screws.
Thermostat wires are low voltage but critical for system operation. A loose connection here causes intermittent cycling and frustrating performance issues.
Next, address the compressor terminals. Your compressor has three main terminals: common, run, and start. Using correct thermostat and compressor terminal identification prevents reversed polarity and ensures proper motor operation.
The common terminal connects to line voltage. The run terminal carries power during normal operation, while the start terminal energises the start capacitor during initial motor engagement. Wire these precisely according to your diagram.
Connect your relay coil wires next. Relays switch power to the compressor based on signals from your control board. The relay coil typically has two terminals that receive low-voltage control signals. The relay contacts handle the high-voltage compressor connections.
Follow this sequence for each connection:
- Insert the wire into the terminal opening
- Tighten the terminal screw firmly but without excessive force
- Tug the wire gently to verify it won’t pull free
- Move to the next connection
Colour-coded wiring simplifies this work. Use red for power lines, black for ground returns, and blue for control signals. If your existing wires don’t follow this convention, label them clearly so future technicians understand your installation.
Pro tip: Crimped spade terminals on wire ends grip more securely than bare wire in screw terminals and reduce connection resistance, which means less heat and better reliability long-term.
The following table explains the role and importance of key wiring points in heat pump installations:
| Connection Point | Function | Consequence if Incorrectly Wired |
|---|---|---|
| R/C terminals on thermostat | Provide 24V power to controls | System will not power up |
| Y/W terminals on thermostat | Engage cooling/heating modes | No heating or cooling response |
| Compressor common terminal | Main return for line voltage | Compressor may not start |
| Compressor run/start terminal | Operate and start compressor motor | Motor can stall or overheat |
| Relay coil | Switches high voltage via commands | Compressor operation unreliable |
Step 4: Secure All Electrical Connections and Insulate
Loose connections generate heat, and heat generates failures. This step ensures every wire stays exactly where you put it and remains protected from moisture and weather.
Go back through every terminal screw you’ve tightened and verify each one is still secure. Use your screwdriver to gently firm up any that feel slightly loose. Don’t over-tighten, as excessive force can strip threads or crack terminal blocks.
Tug each wire gently at its connection point. The wire should not move or flex at the terminal. If it does, tighten the screw another quarter turn and test again.
Loose connections create resistance, which generates heat that eventually melts insulation and causes electrical faults or fires.
Now address insulation and weather protection. Canadian winters demand extra attention here. Securing connections and insulating against moisture exposure prevents corrosion and electrical shorts in outdoor environments.
For all exposed wire connections, use appropriate insulating materials. Heat shrink tubing works exceptionally well, especially in cold climates. Slide it over your connection, then apply gentle heat with a heat gun to shrink it tight around the joint.
Wrap any exposed terminals or junction boxes with weatherproof tape. Electrical tape alone isn’t sufficient outdoors. Use adhesive-backed foam tape or waterproof silicone tape that blocks moisture completely.
For control wiring that runs outdoors between the outdoor unit and indoor thermostat, use UV-resistant conduit or sheathed cable. This protects against sun damage and rodent chewing, both common in Canadian installations.
Inspect your work from these angles:
- No bare copper visible at any connection point
- All junction boxes have secure covers
- Control wiring has protective conduit where exposed
- No gaps where moisture could penetrate
- Terminal screws show no signs of corrosion
Once everything is secure and insulated, photograph your work before closing any access panels. Document the wire routing and connection points. This creates a service record for future maintenance or troubleshooting.
Pro tip: Test every connection with your multimeter for continuity before energising the system, catching any missed or loose connections before they cause damage.
Step 5: Test Heat Pump Functionality and Verify Operation
Your wiring is complete and secure. Now comes the moment that proves everything works as intended. Testing reveals problems while you’re still on site to fix them.
Before energising the system, conduct a final visual inspection. Walk around the outdoor unit and check that all access panels are secure and no tools are left behind. Verify that all your insulation work is intact and no exposed wires remain visible.
Set your thermostat to a comfortable temperature and switch it to heating mode. Listen for the compressor to start within 30 seconds. You should hear a distinct hum as the motor engages.
A heat pump that won’t start immediately usually has a wiring or control board problem, not a refrigerant issue.
Once the compressor runs, check your system pressures and electrical integrity. Use your pressure gauges to verify the high and low-side readings match the specifications on your equipment nameplate. Pressures outside the acceptable range indicate refrigerant problems or airflow restrictions.
Performing thorough system tests including heating and cooling mode verification ensures your installation meets Canadian standards and functions reliably.
Test each operational mode systematically:
- Heating mode at 21 degrees Celsius for five minutes
- Cooling mode at 18 degrees Celsius for five minutes
- Defrost cycle activation if applicable to your model
- Fan speed changes at the thermostat
Feel the airflow at supply vents. It should be warm in heating mode and cool in cooling mode. Weak or cold air in heating mode suggests control wiring issues or a stuck reversing valve.
Document every reading you take. Record compressor amp draw, high and low pressures, supply air temperature, and return air temperature. This baseline data becomes crucial for future service calls.
Listen for unusual noises. A quiet hum is normal. Clicking, grinding, or squealing signals mechanical problems that need investigation before you leave the job.
Pro tip: Run the system for at least 15 minutes in each mode before leaving, giving you time to catch startup issues and verify stable operation under load.
Ensure Every Heat Pump Installation Meets Canadian Standards and Runs Safely
Wiring a heat pump requires precision and adherence to strict Canadian electrical codes to avoid costly errors and safety risks. If you want to guarantee your heat pump installation is done right the first time with accurate wiring, secure connections, and proper testing, professional support is just a click away. With pain points like verifying thermostat wiring, securing compressor connections, and following provincial guidelines, every step demands expertise and attention to detail.

Discover how CoolFix provides expert heat pump installation and appliance repair services that ensure reliable and safe setups tailored to Canadian climates. Don’t risk improper wiring or failed inspections. Visit CoolFix Heat Pump Installation now and take the first step to a flawless system. Ready to protect your home and enjoy efficient heating and cooling? Contact us today to get started.
Frequently Asked Questions
What tools do I need for wiring a heat pump installation?
You will need essential electrical tools like a multimeter, non-contact voltage tester, wire strippers, needle-nose pliers, and a screwdriver set. Assemble these tools before starting your project to ensure you work safely and efficiently.
How do I ensure the power is off before starting my heat pump wiring?
To confirm the power is turned off, locate the main electrical disconnect switch for the heat pump and flip it to the off position. Use a non-contact voltage tester to check multiple areas for any live electricity before making any connections.
What documentation is required for a compliant heat pump installation?
You will need the manufacturer’s wiring diagram, the relevant provincial electrical code, model-specific installation guidelines, local permit requirements, and any previous service records if applicable. Collecting every document before starting helps prevent delays and ensures compliance with local regulations.
How should I connect the thermostat wiring and compressor wires?
Connect the thermostat wiring to terminals labelled R, C, Y, and W according to the schematic, ensuring each wire is securely fastened. For the compressor, follow the specific wiring instructions for the common, run, and start terminals to ensure proper functionality of the system.
What should I do if my heat pump does not start after installation?
If the heat pump does not start, perform a visual inspection to ensure all connections are secure and listen for any unusual noises. Conduct further tests on wiring and circuit continuity to identify potential control board or wiring issues.
How can I protect electrical connections from moisture and corrosion?
Use heat shrink tubing and weatherproof tape to cover all exposed connections securely. Ensure that wires running outdoors are protected with conduit to prevent moisture exposure, which can lead to corrosion and electrical faults.
Recommended
- Heat Pump Installation Codes: Compliance in Canada – CoolFix Appliance & HVAC Service
- Heat Pump Placement – Maximizing Efficiency in Canada – CoolFix Appliance & HVAC Service
- Heat Pump Installer Role: Elevating Installation Skills – CoolFix Appliance & HVAC Service
- Heat Pump Installation Timeline—What Urban Canadians Face – CoolFix Appliance & HVAC Service
0 Comments