

Every Canadian homeowner dreads the first cold snap when a heat pump fails to deliver. Tackling repairs yourself can feel intimidating, but a methodical approach keeps you in control and cuts unnecessary service costs. By focusing on safety and proper tool preparation, you’ll build the foundation for effective, affordable repairs while protecting both your home and your family. This guide empowers you to take smart steps, use the right gear, and navigate heat pump repairs with confidence.
Table of Contents
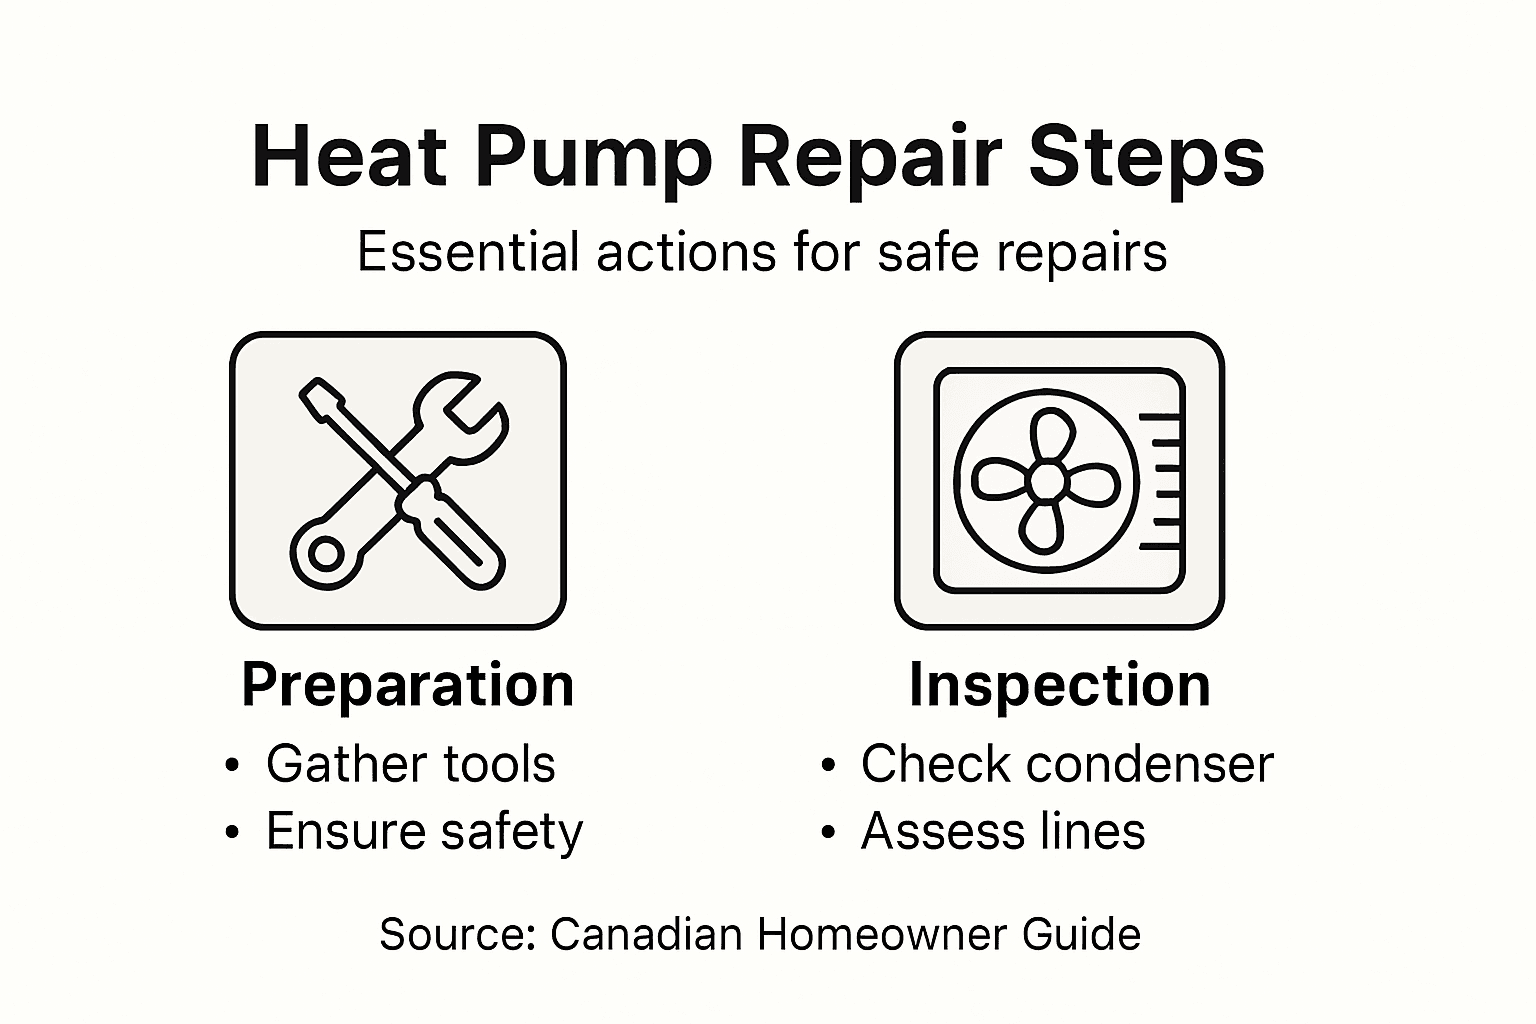
- Step 1: Gather Tools And Ensure Safety
- Step 2: Inspect Heat Pump Components
- Step 3: Troubleshoot Common Issues
- Step 4: Replace Faulty Parts Or Connections
- Step 5: Test System Performance And Verify Repair
Quick Summary
| Key Takeaway | Explanation |
|---|---|
| 1. Gather Safety Equipment | Always wear safety gear to prevent injuries while working on systems. |
| 2. Power Down Before Work | Turn off power completely to avoid electrical shocks or hazards. |
| 3. Inspect Key Components | A thorough inspection can identify problems before they escalate. |
| 4. Troubleshoot Logically | Address common issues systematically for efficient resolution. |
| 5. Test System After Repairs | Verify all repairs by monitoring system performance thoroughly. |
Step 1: Gather Tools and Ensure Safety
Before you touch your heat pump, you need the right tools and a safety plan. This step ensures you have everything within reach and understand the risks you’re facing.
Start by assembling your essential tools. You’ll want a multimeter to test electrical circuits, screwdrivers (both Phillips and flat-head), an adjustable wrench, pliers, and a flashlight. These basics cover most inspection and minor repair tasks without requiring expensive specialty equipment.
Safety equipment is non-negotiable. Gather the following:
- Safety glasses to protect your eyes from debris
- Work gloves for handling components
- A hard hat if working in confined spaces
- Electrical insulation gloves rated for your voltage
- A first aid kit nearby
Safety isn’t optional when working with electrical systems. One mistake can cause serious injury or damage.
Before beginning any work, power down your heat pump completely. Turn off power to the unit before inspecting or repairing anything to prevent electrical shocks. Find the electrical disconnect switch near your indoor unit or breaker panel, and switch it off. Wait a few minutes for residual charge to dissipate.
Inspect your tools before use. Check that tools show no visible damage, cracks, or corrosion. Damaged tools create hazards and reduce your effectiveness. Discard or repair anything questionable rather than risking an accident.
Organise your workspace next. Clear the area around your heat pump so you have room to work safely. Remove tripping hazards, ensure good lighting, and keep children and pets away from your work zone. A tidy workspace prevents accidents and keeps your focus on the task.
Pro tip: Keep your multimeter batteries fresh and test it on a known power source before starting to ensure accurate readings throughout your repair work.
Step 2: Inspect Heat Pump Components
Now that you’ve powered down your system and gathered your tools, it’s time to inspect the key components. A thorough visual check often reveals problems before they become expensive repairs.
Start by locating your heat pump’s main components. Your system contains a compressor, evaporator coil, condenser coil, fans, and a thermostat. Understanding how heat pump components work helps you spot issues more effectively. Each part plays a specific role, and when one falters, the whole system suffers.
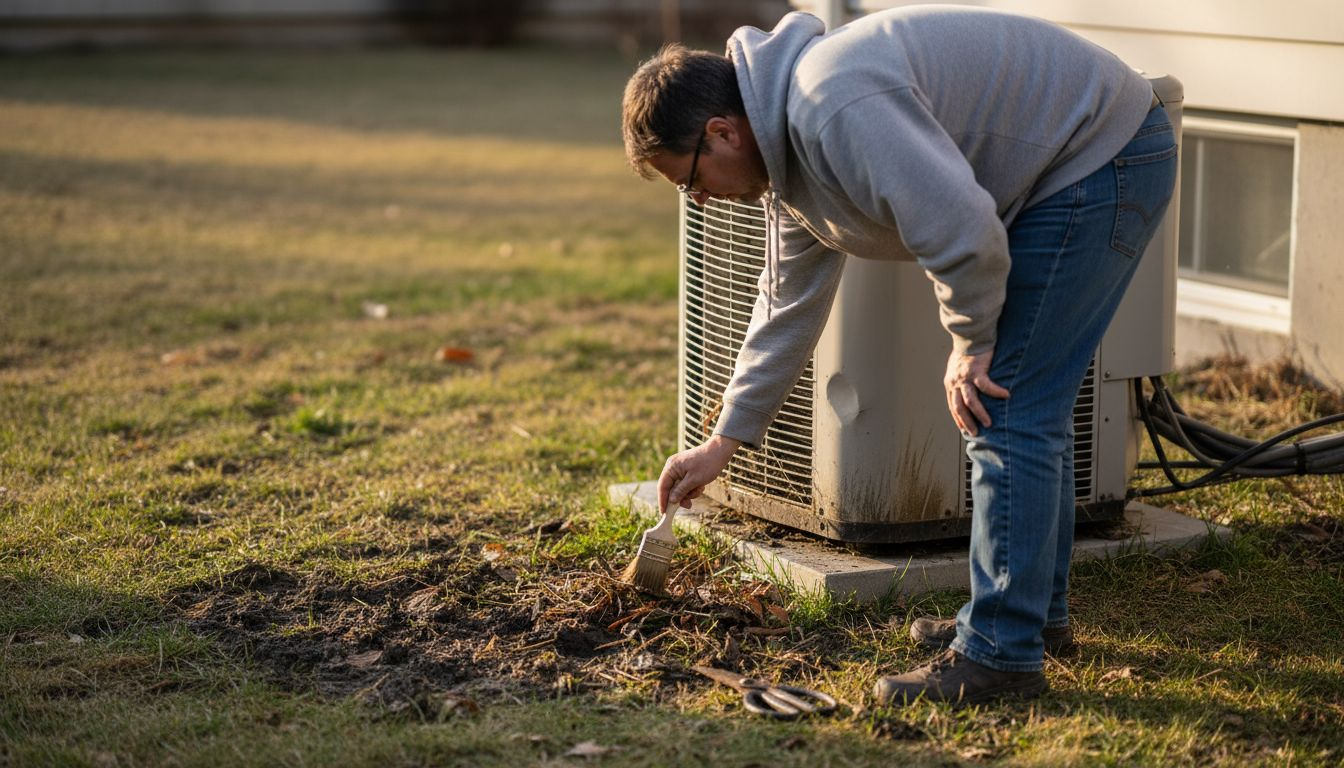
Begin with the outdoor condenser unit. Look for visible damage, dents, or debris blocking the fins. Leaves, dirt, and twigs reduce efficiency dramatically. Check that the fan spins freely by hand (with power off). Listen for unusual sounds or rattling that might indicate loose components.
Next, inspect your indoor evaporator coil and blower. These sit behind your furnace or air handler. Look for ice buildup on the coil, which signals refrigerant or airflow problems. Check that the blower motor spins without resistance. Examine the air filter too. A clogged filter restricts airflow and strains your entire system.
Examine your electrical connections carefully:
- Look for corrosion or green oxidation on terminals
- Check that wire connections are tight and secure
- Identify any burnt or melted insulation
- Note any loose or disconnected wires
Electrical problems are often hiding in plain sight. A loose connection can cause your entire system to fail.
Inspect the refrigerant lines connecting indoor and outdoor units. These copper tubes should show no signs of leaks, cracks, or kinks. Look for oily residue around joints, which indicates escaping refrigerant. Test your thermostat by cycling through modes and checking if the system responds promptly.
Document what you find. Take photos of any damage or corrosion. This record helps you diagnose problems accurately and track changes over time.
The following table summarises key heat pump components and their critical functions for maintenance:
| Component | Location | Purpose |
|---|---|---|
| Compressor | Outdoor unit | Circulates refrigerant fluid |
| Evaporator coil | Indoor unit | Absorbs heat indoors |
| Condenser coil | Outdoor unit | Releases heat outside |
| Air filter | Furnace/handler | Keeps air clean and unrestricted |
| Thermostat | Interior wall | Controls temperature and mode |
Pro tip: Use your multimeter to test electrical continuity at key connection points. Compare readings to your unit’s specifications to identify weak circuits before they cause complete failure.
Step 3: Troubleshoot Common Issues
With your inspection complete, you’ve likely spotted some problems. This step walks you through diagnosing the most frequent heat pump failures Canadian homeowners encounter.
Start by identifying your specific symptom. Is your system not producing heat? Running constantly without reaching the target temperature? Making odd noises? Each symptom points toward different root causes. Heat pump troubleshooting methods help you match symptoms to solutions systematically.
Begin with airflow problems. A system that runs but doesn’t heat often has a clogged air filter or blocked condenser. Replace your filter first, as this solves roughly 30 percent of reported issues. Check outdoor unit fins for debris and clean gently with a soft brush.
Next, test for refrigerant leaks. Low refrigerant causes reduced cooling or heating performance. Listen for a hissing sound near connection points or look for oily residue on tubes. If you suspect a leak, this requires professional service to recharge safely.
Common troubleshooting steps include:
- Verify your thermostat displays the correct temperature
- Confirm the outdoor unit fan spins freely
- Check that all electrical connections remain tight
- Ensure the indoor blower operates without grinding sounds
- Test that mode switching (heat, cool, fan) responds immediately
Most heat pump failures stem from simple issues like dirty filters or loose connections. Always check the obvious first.
Compressor problems are serious. If your compressor won’t start or cycles on and off rapidly, electrical or mechanical failure is likely. You’ll hear a loud humming or clicking before it stops. This demands professional repair and cannot be tackled safely at home.
Examine your thermostat next. A faulty thermostat sends wrong signals to your system, causing it to run constantly or not at all. Test by adjusting settings and observing system response. Delayed responses or no response suggest replacement is needed.
Document your findings alongside your inspection notes. This diagnostic record helps you explain problems to a technician if professional help becomes necessary.
Here is a quick reference for troubleshooting common heat pump issues and their typical causes:
| Symptom | Likely Cause | Suggested Action |
|---|---|---|
| No heat or cool air | Dirty filter, airflow | Replace filter, check vents |
| Constant running, low effect | Low refrigerant, blockage | Clean unit, call a technician |
| Loud noises during operation | Loose or faulty component | Inspect fan, tighten connections |
| Thermostat unresponsive | Dead batteries or wiring | Replace batteries, check wiring |
| Short cycling (rapid on/off) | Electrical or compressor | Professional diagnosis required |
Pro tip: Write down the exact time your problem started, any unusual sounds you heard, and whether it happens in heating or cooling mode. This information dramatically speeds up professional diagnosis if DIY repairs don’t resolve the issue.
Step 4: Replace Faulty Parts or Connections
Some repairs go beyond inspection and adjustment. This step covers replacing worn components and fixing loose connections that threaten your system’s performance.
Start with the easiest replacements. Air filters are straightforward to change and cost only a few dollars. Turn off power, locate your filter housing, slide out the old filter, and insert the new one with the arrow pointing toward the furnace. Most filters need replacement every one to three months depending on use.
Next, tackle loose electrical connections. Turn off power completely. Inspect every terminal and wire junction. Look for corroded or loose terminals. Using an insulated screwdriver, tighten any loose connections gently. Corroded terminals may need cleaning with fine sandpaper before retightening.
Replacement steps for simple components include:
- Turn off power at the breaker and confirm it’s off
- Remove the faulty component carefully
- Install the manufacturer-approved replacement part
- Reconnect all wires exactly as they were positioned
- Restore power and test the system
Only replace manufacturer-approved parts. Using incompatible components voids your warranty and risks system failure.
Capacitors are common failures. These cylindrical components store electrical energy and fail over time. If your system hums but won’t start, a failed capacitor is likely culpable. Capacitors require careful handling because they hold a charge. Discharge yours safely by connecting a screwdriver across the terminals before removal.
Refrigerant line issues demand caution. If you’ve identified a small leak at a connection joint, proper refrigerant line connections must be sealed correctly to maintain safety and system efficiency. Tightening fittings slightly may stop a minor weeping leak. Major leaks or tube damage require professional service because refrigerant handling follows strict regulations.
Thermostat batteries are easily overlooked. If your thermostat displays nothing or shows erratic behaviour, replace batteries first. Most thermostats use standard AA or AAA batteries available at any store.
Always photograph connections before disconnecting anything. This visual record ensures you reconnect everything correctly. Label wires with tape if multiple connections exist.
Pro tip: Keep all old parts in a box for a week after replacement. If your system malfunctions, you can swap back to original parts to troubleshoot whether the new component caused the problem.
Step 5: Test System Performance and Verify Repair
Your repairs are complete, but the real test comes now. This step ensures your heat pump operates safely and efficiently before you consider the job finished.
Start by restoring power to your system. Flip the breaker switch back on and give the unit 30 seconds to initialise. Listen for normal startup sounds like a gentle hum or fan activation. Unusual grinding, squealing, or silence indicates a problem that needs attention.
Set your thermostat to your desired temperature and mode. Switch between heating and cooling modes to verify your system responds correctly. The system should activate within seconds. If it hesitates or doesn’t respond, a thermostat or control board issue may persist.
Perform these essential checks:
- Feel warm or cool air flowing from indoor vents
- Confirm the outdoor unit fan spins steadily
- Listen for smooth compressor operation without loud noises
- Check that your thermostat displays accurate temperature readings
- Verify the system cycles on and off normally
A properly functioning heat pump cycles predictably. Constant running or frequent stopping signals ongoing problems.
Run your system in heating mode for 15 minutes and measure indoor temperature. It should rise steadily toward your set point. In cooling mode, temperature should drop gradually. Stalled or slow changes suggest airflow restrictions or refrigerant problems. Proper system pressure and temperature monitoring verifies components function under operating conditions and deliver expected efficiency.
Check your energy usage patterns. Use your multimeter to measure voltage at key electrical points. Readings should match your unit’s specifications from the manual. Abnormal voltages indicate electrical faults requiring professional assessment.
Observe operation over several hours. Watch for unusual cycling patterns, strange noises, or inconsistent heating or cooling. Take temperature readings at different times to ensure stability. Document everything in your repair notes.
If your system operates smoothly through these tests, your repair succeeded. If problems persist, review your work against the original symptoms. Did you reconnect everything correctly? Are new components installed properly? Sometimes a second inspection reveals overlooked details.
Pro tip: Record your system’s normal operating sounds with your phone during this testing phase. Later, if unusual noises develop, you’ll have a baseline to compare against and identify problems faster.
Keep Your Canadian Home Comfortable with Expert Heat Pump Support
Troubleshooting and repairing your heat pump can feel overwhelming especially when dealing with electrical components and refrigerant systems. This guide highlighted key challenges such as identifying airflow issues, tightening loose electrical connections, and recognising when professional help is essential for compressor or refrigerant line problems. If you want peace of mind knowing your heat pump is repaired correctly and safely, don’t hesitate to get expert assistance.

Take control of your home comfort today by connecting with experienced technicians who specialise in heat pump installation and appliance repair. Whether you need help replacing parts, diagnosing persistent problems, or a full system checkup, visit CoolFix now to schedule your service. Early action ensures efficient operation and protects your investment against costly damage during harsh Canadian seasons.
Frequently Asked Questions
What tools do I need for heat pump repair?
You will need a multimeter, screwdrivers (Phillips and flat-head), an adjustable wrench, pliers, and a flashlight. Gather these tools to complete most inspection and minor repair tasks effectively.
How can I ensure safety while repairing my heat pump?
Prior to any work, turn off the power completely to the unit. Always wear safety glasses, work gloves, and have a first aid kit readily available to minimize risks during repairs.
What should I look for when inspecting my heat pump?
Inspect the outdoor condenser unit for any visible damage or debris blocking the fins. Check connections and components such as the evaporator coil, blower, and electrical connections for signs of wear or issues that could affect performance.
How do I troubleshoot common heat pump problems?
Start by identifying the symptoms, such as no heat or constant running. Replace the air filter first, as clogged filters account for many issues; if problems persist, look for refrigerant leaks or check electrical connections.
When should I replace parts versus repairing my heat pump?
Replace parts when inspection indicates clear signs of wear, such as frayed wires or damaged filters. Typical easy replacements include air filters and loose electrical connections, which can significantly improve system performance quickly.
How do I test my heat pump after repairs?
Restore power to the unit and monitor its operation for normal starting sounds and consistent airflow. Run the system in both heating and cooling modes for at least 15 minutes to ensure it is responding correctly and check for stable temperature changes.
Recommended
- Master Heat Pump Repair Workflow for Canadian HVAC Techs – CoolFix Appliance & HVAC Service
- Heat Pump Replacement Tutorial for Canadian Homeowners – CoolFix Appliance & HVAC Service
- Heat Pump Troubleshooting Guide for Canadian Technicians – CoolFix Appliance & HVAC Service
- 7 Best Practices for Heat Pump Repair in Canada – CoolFix Appliance & HVAC Service
- Preventing Frozen Pipes Workflow for Belleville Homeowners
0 Comments