
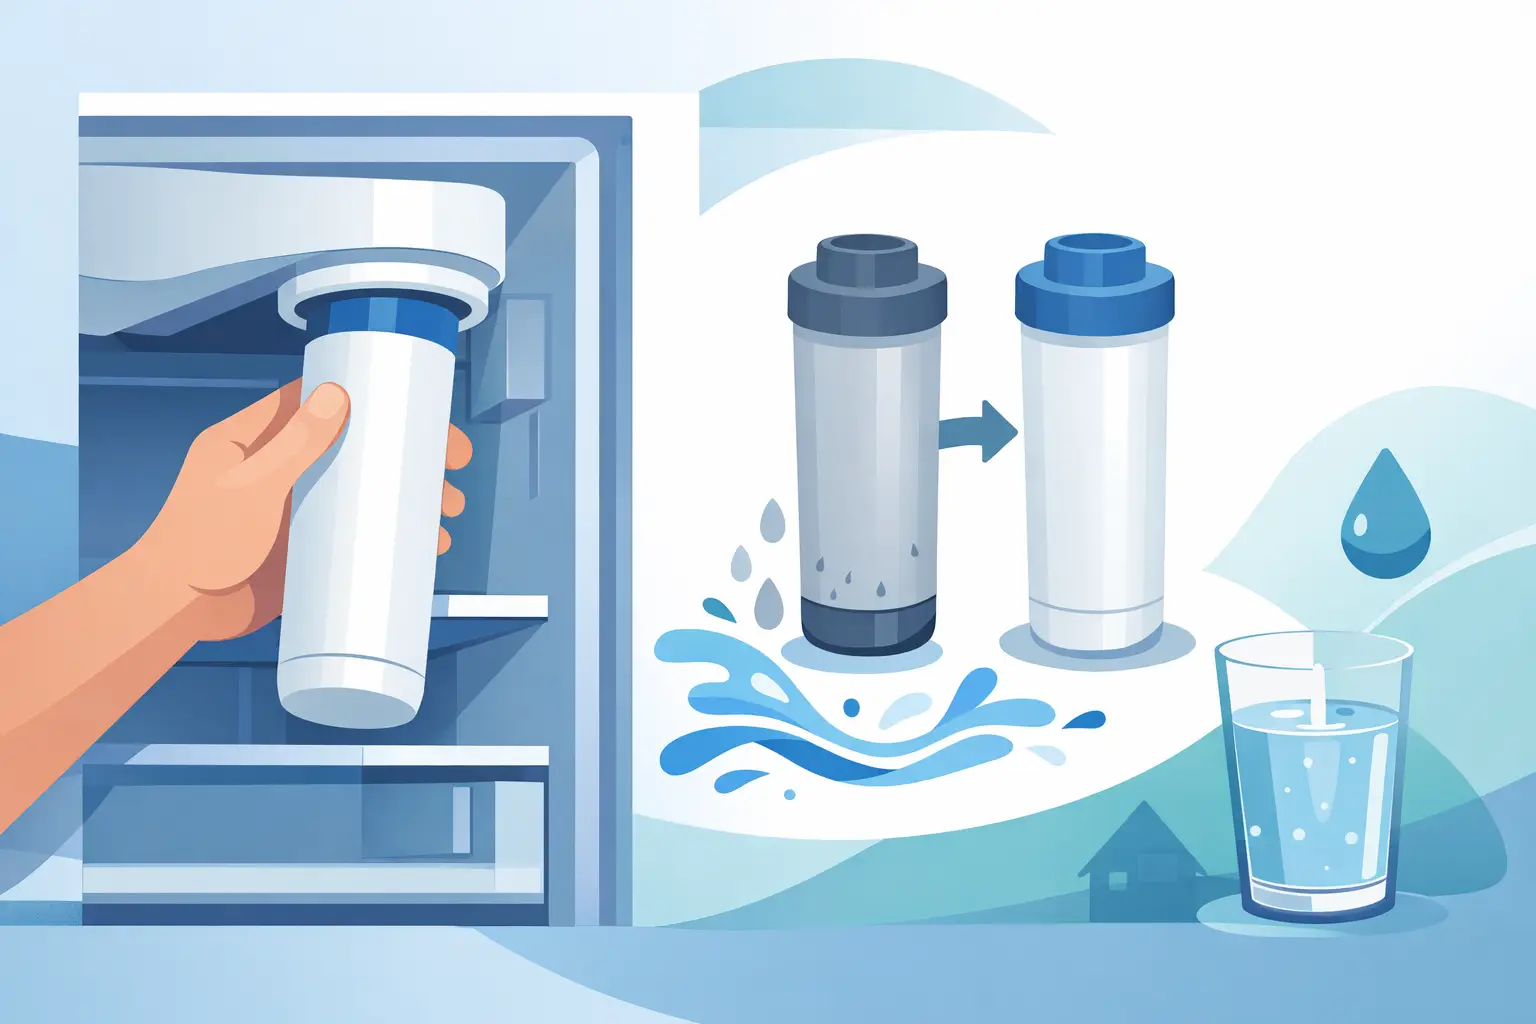
That little filter light on your refrigerator is easy to ignore until the water starts tasting off, the dispenser slows down, or the ice cubes pick up an odd smell. Knowing how to replace water filter is a simple bit of home maintenance that protects your drinking water and helps your refrigerator’s dispenser work as it should.
The job usually takes less than 15 minutes. The part that matters most is choosing the right replacement filter and installing it carefully enough to avoid a leak or an air-filled water line. Here is a practical way to handle it without turning a routine filter change into a service call.
Before You Replace the Refrigerator Water Filter
A refrigerator filter is not a universal part. Even filters that look nearly identical can have different connections, flow rates, or electronic chips. Using the wrong one may cause leaking, poor water flow, or a filter door that will not close.
Start by finding your refrigerator’s model number. It is commonly printed on a label inside the fresh-food compartment, near the door frame, behind a crisper drawer, or on the side wall. Use that model number, or the part number printed on the current filter, to match the replacement. If the old filter is missing or unreadable, do not guess based on its shape alone.
Most refrigerator filters are found in one of four places: inside the upper-right corner of the refrigerator compartment, behind a small grille at the bottom front of the fridge, in a compartment near the back wall, or in a horizontal housing across the ceiling. The location tells you a lot about how it comes out.
You usually will not need tools. Keep a clean towel nearby, though. A small amount of water can drip from the filter or housing, especially if the refrigerator has been dispensing water recently. If your filter sits behind a bottom grille, a flat screwdriver may help release the grille, but avoid forcing plastic tabs.
How to Replace Water Filter Safely
Before removing the old filter, look at the housing and the new filter. Check for cracked plastic, damaged O-rings, or a broken cap. A replacement filter should arrive sealed and clean. If it has loose debris, damaged threads, or missing seals, do not install it.
Turn Off the Water Only If Your Model Requires It
Many modern refrigerators are designed for a quick filter change, meaning the water supply can stay on while you replace the cartridge. The filter housing has an internal valve that shuts off water when the filter is removed.
That said, some older models require the household water supply to be turned off first. Your refrigerator manual will tell you which setup you have. If you are unsure, shut off the refrigerator’s supply valve before starting. It is usually located behind the fridge, under the kitchen sink, or in a nearby basement area. This small precaution is worth it if the filter housing is old or you have seen any past leaking.
Remove the Old Filter Without Forcing It
For a twist-in filter, turn the cartridge counterclockwise, usually about one-quarter turn, until it releases. Pull it straight out. Some filters have a push button next to the housing. Press the button firmly while pulling the filter toward you.
If a filter is stuck, do not grab it with pliers or twist harder. The housing can crack, and replacing a filter housing costs far more than replacing a filter. First make sure you are turning it in the right direction. Then try gently rocking the filter while applying steady pressure. A filter can bind when it has been in place too long or when the fridge has been moved.
Once it is out, inspect the filter head and housing. Wipe away any moisture or residue with a clean cloth. Check that the old O-ring did not stay behind in the housing. If it did, carefully remove it before installing the new cartridge.
Install the New Filter and Check Its Fit
Remove the protective cap from the new filter. Insert it in the same orientation as the old one. Push it in gently, then turn it clockwise until it stops or clicks into place. For push-button filters, slide the new filter in until you hear or feel it lock.
Do not overtighten a twist-in filter. It should be snug, not forced. If it will not turn easily, pull it back out and confirm it is lined up correctly. Cross-threading or forcing a cartridge can damage the connection and create a slow leak that may not show up until later.
If your refrigerator has a filter cover, close it carefully. A cover that will not close often means the filter is not fully seated or the replacement is the wrong size.
Flush the New Filter Before Using the Water
A new refrigerator filter needs to be flushed. This clears out trapped air and any harmless carbon particles left from manufacturing. Carbon is commonly used in filters to reduce odors, chlorine taste, and certain contaminants, so a few dark specks in the first water are usually normal.
Place a large pitcher under the dispenser and run water through it in short intervals. Most refrigerators need about two to four gallons flushed through, but follow the instructions supplied with your specific filter if they differ. Pause when needed to empty the pitcher and give the dispenser a break.
At first, the water may sputter, hiss, or come out slowly. That is air leaving the line. Continue flushing until the stream is steady and the water runs clear. Then discard the first batch of ice, or at least the first full ice bin, because the ice maker uses water that was sitting in the line before the new filter was installed.
Reset the Filter Indicator Light
The filter light does not always reset itself when a new cartridge is installed. Look for a button labeled “Filter,” “Reset,” or “Water Filter” on the control panel. Holding it for three to five seconds often clears the reminder light.
The exact method varies by refrigerator. On some models, you press two buttons together. On others, the reset option is in a touchscreen menu. If the light stays on after you reset it, verify that the new filter is fully installed before assuming there is a problem.
How Often Should You Change a Refrigerator Water Filter?
For most homes, every six months is a sensible schedule. However, the right timing depends on your water use, local water quality, and the filter’s rated capacity. A large family that fills bottles, makes plenty of ice, and uses the dispenser all day may need a new filter sooner. A lightly used fridge in a rental unit may not reach its capacity as quickly.
Do not wait only for the indicator light. The light is generally a timer, not a direct test of water quality. Replace the filter early if the dispenser flow becomes weak, the water develops an unpleasant taste or odor, or the ice starts looking cloudy or smelling unusual.
Write the installation date on the filter label or add a six-month reminder to your phone. For landlords and property managers, keeping a simple filter-change record for each unit can prevent tenant complaints and make routine maintenance easier to track.
Common Water Filter Problems After Replacement
A few issues can happen right after a filter change, and most are easy to solve. Sputtering water usually means there is still air in the line, so flush more water through. Slow flow can mean the filter is not fully seated, the water valve is partly closed, or the filter is incompatible with the refrigerator.
If water leaks around the filter, stop using the dispenser right away. Remove the cartridge, inspect the seals, and reinstall it straight. If the leak continues with a correctly matched filter, the housing or filter head may be cracked. Do not tape it, glue it, or keep testing it. A small refrigerator water leak can damage flooring and cabinets before it becomes obvious.
A filter that will not release, a broken housing, no water after installation, or recurring leaks are good reasons to call for appliance service. These problems may involve the filter assembly, water inlet valve, supply line, or dispenser system rather than the filter itself.
A fresh filter is a small, affordable maintenance task, but it makes a real difference in the water your household uses every day. If the filter change reveals a bigger refrigerator issue, CoolFix can help get to the cause without pushing an unnecessary replacement.
0 Comments