

Noticing a sudden drop in your heat pump’s performance can signal more than just wear and tear, especially for those keen to keep energy costs manageable. Leaks often develop from damaged valves, loose fittings, or worn seals and are common near compressor areas exposed to vibration and temperature changes. Tackling visible signs of leaks early helps DIY homeowners and small appliance repair technicians worldwide maintain optimal efficiency, avoid expensive repairs, and extend system life with practical, hands-on guidance.
Table of Contents
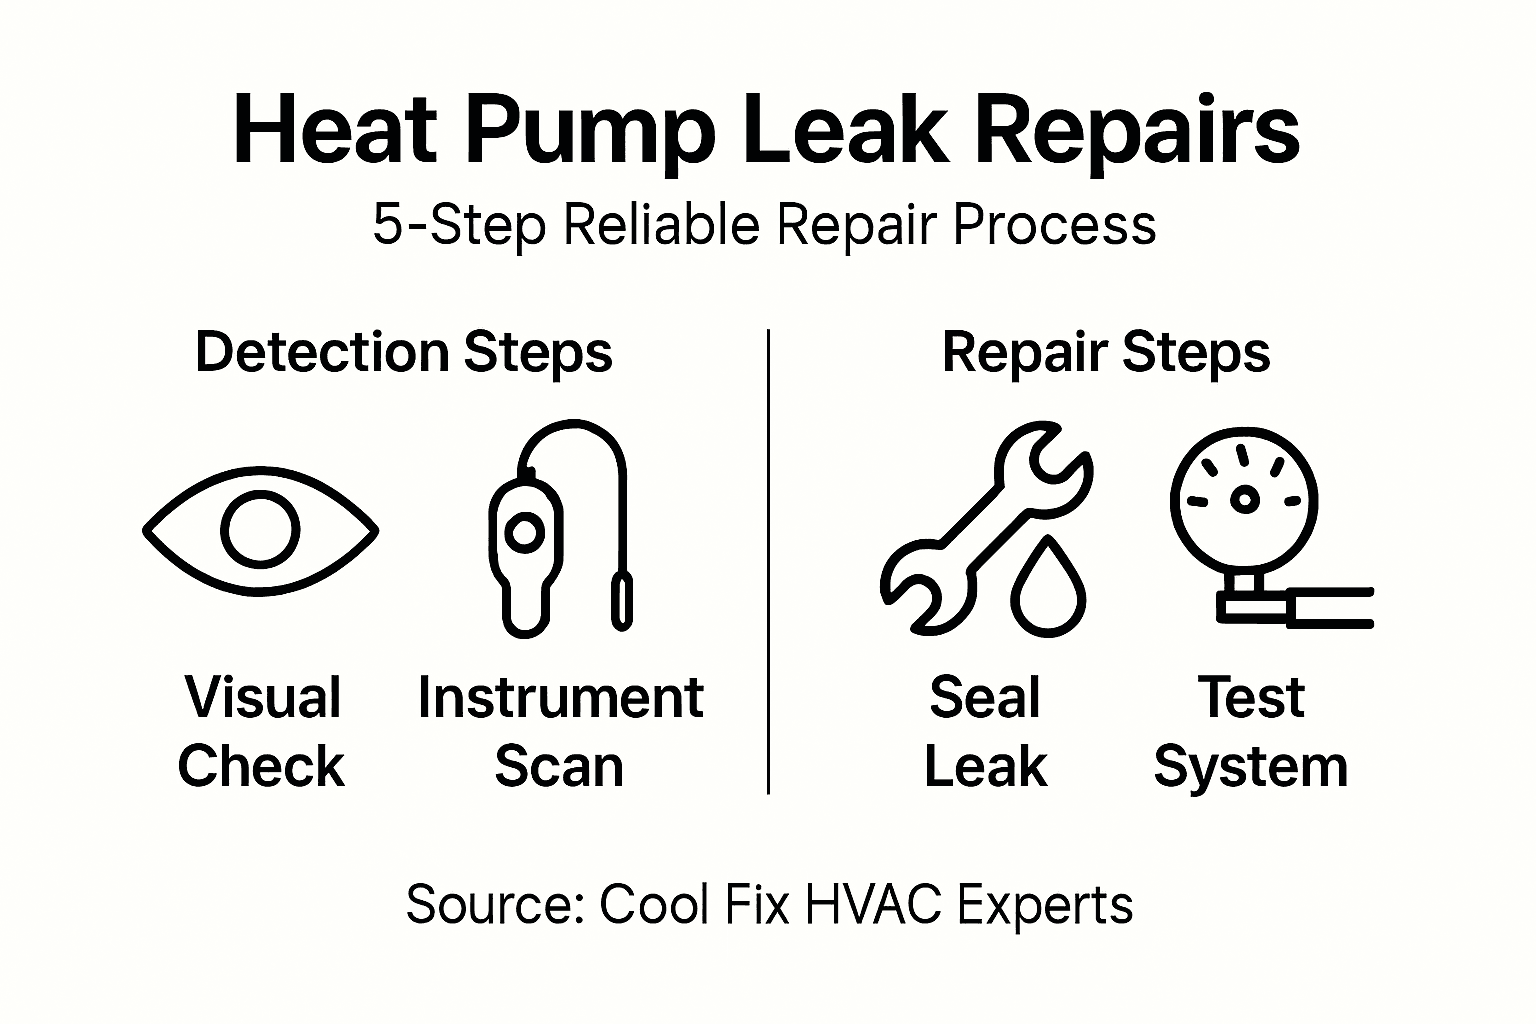
- Step 1: Assess Heat Pump For Visible Signs Of Leaks
- Step 2: Isolate The Unit And Safely Access Leak Areas
- Step 3: Locate And Identify The Exact Leak Source
- Step 4: Seal Or Repair Detected Leaks Using Approved Methods
- Step 5: Test Repaired System For Leak Resolution
Quick Summary
| Key Message | Explanation |
|---|---|
| 1. Inspect for visible leaks | Conduct thorough visual inspections for signs of moisture or oil around connections and seals to identify potential leaks early. |
| 2. Isolate the unit properly | Turn off power at the circuit breaker before any inspection or repair to ensure safety from electrical hazards. |
| 3. Use specialized detection methods | Implement sensitive tools such as electronic leak detectors or bubble solutions to locate leaks accurately within the system. |
| 4. Repair leaks with approved techniques | Utilize compatible materials and manufacturer-approved methods to ensure effective and safe repairs of detected leaks. |
| 5. Test post-repair effectiveness | Verify that repairs are successful by monitoring the system for pressure stability and any signs of further leakage. |
Step 1: Assess heat pump for visible signs of leaks
Spotting leaks in your heat pump early can save you significant repair costs and prevent potential system failures. When inspecting your heat pump, you will focus on identifying visible indicators that suggest refrigerant or fluid leakage.
Start by performing a thorough visual inspection of all accessible components. Look closely at refrigerant lines, connection points, valves, and seals for any signs of moisture, oil residue, or discolouration. Equipment leaks often develop near compressor components due to constant vibration and temperature fluctuations. Pay special attention to joints and connection areas where small cracks or wear might not be immediately obvious.
Use a bright flashlight to illuminate dark corners and examine the entire system carefully. Check for white or greenish residue around pipe connections which could indicate refrigerant leakage. Listen for any hissing sounds that might suggest escaping gas or fluid. While some leaks are immediately visible, others require more nuanced detection techniques used by professional technicians.
Expert Tip: Wear protective gloves and safety glasses during your inspection to prevent potential chemical exposure or accidental injury.
Step 2: Isolate the unit and safely access leak areas
Before attempting to diagnose or repair heat pump leaks, you must safely isolate the unit to prevent electrical hazards and potential refrigerant exposure. This step involves carefully shutting down the system and preparing the workspace for a thorough inspection.
Start by turning off the power to your heat pump at the circuit breaker to eliminate any risk of electrical shock. Proper maintenance requires safely isolating the unit before conducting any service work. Next, disconnect the power cord and ensure all electrical connections are completely disconnected. Remove any panels or access covers carefully using appropriate screwdrivers or tools. Wear protective work gloves and safety glasses to shield yourself from potential chemical residues or sharp edges.
Clear the area around the heat pump to create a clean workspace with adequate lighting and room to manoeuvre. Have a plastic drop cloth ready to protect surrounding surfaces and catch any potential fluid drips. Position yourself to have a clear view of all connection points and areas where leaks might be present. Keep a notepad nearby to document your observations and potential problem areas you discover during the inspection.
Expert Tip: Always keep a fire extinguisher nearby when working with electrical equipment and ensure proper ventilation in your workspace.
Step 3: Locate and identify the exact leak source
Identifying the precise location of a heat pump leak requires careful observation and specialized detection techniques. Your goal is to pinpoint the exact source of refrigerant or fluid leakage to ensure accurate and effective repairs.
Advanced leak detection techniques involve using sensitive instruments to measure minute refrigerant emissions. Begin by examining connection points and joints systematically. Use a high quality leak detection solution or specialized electronic refrigerant detector to trace potential escape routes. Spray the solution around pipe connections, valves, and seals watching carefully for bubble formation which indicates gas escaping. Pay special attention to areas with visible corrosion, discolouration, or mechanical stress.
Look for telltale signs like oil residue, frost buildup, or unusual discolouration around refrigerant lines and component interfaces. These visual cues often reveal hidden leak locations that might not be immediately apparent. Listen for subtle hissing sounds that could indicate pressurised gas escaping. If you are uncertain about the leak location or lack specialized detection equipment, consider consulting a professional technician who can perform more advanced diagnostic procedures.
Expert Tip: Clean all component surfaces thoroughly before leak detection to ensure accurate and reliable results.
Here is a quick reference of common heat pump leak detection methods and their best-use scenarios:
| Detection Method | Ideal For | Equipment Required | Reliability Level |
|---|---|---|---|
| Visual Inspection | Surface leaks, residue marks | Flashlight, safety gear | Moderate |
| Electronic Leak Detector | Small, hidden refrigerant leaks | Electronic detection tool | High |
| Bubble Solution Test | Pipe, joint, valve leaks | Soap solution, spray bottle | Moderate to High |
| Listening for Hissing | Gas escape spots | Quiet environment | Low to Moderate |
Step 4: Seal or repair detected leaks using approved methods
Repairing heat pump leaks requires precision and careful selection of appropriate repair techniques to restore system integrity and prevent future performance issues. Your primary goal is to address the leak using methods that ensure long term reliability and system efficiency.
Leaking components can be repaired using industry-recognized methods including tightening connections, replacing worn seals, or applying specialized sealants. Start by selecting repair materials specifically compatible with your heat pump’s refrigerant type. For small leaks around pipe connections, use high temperature thread sealant designed for HVAC systems. Larger leaks might require replacing entire valve assemblies or sections of refrigerant lines. Ensure you use manufacturer approved mechanical fittings and follow the original equipment specifications precisely.
If the leak is at a connection point, carefully clean the area and apply new thread tape or sealant. For more complex leaks involving major components, you may need to consult a professional technician who can perform welding or more advanced repair techniques. Some repairs might require partial system disassembly and specialized tools. Always wear protective equipment and work in a well ventilated area to minimise exposure to refrigerant gases during the repair process.
Expert Tip: Document the exact location and repair method used for future maintenance reference.
Step 5: Test repaired system for leak resolution
After completing repairs, you must thoroughly verify that the heat pump leak has been successfully resolved. This critical step ensures your repair work is effective and prevents potential future system failures or environmental risks.
Professionals use multiple methods to verify leak resolution including pressure testing and electronic leak detection techniques. Begin by carefully reinstalling any removed panels and reconnecting electrical components. Use an electronic refrigerant leak detector to scan all previously identified problem areas. Activate the heat pump and observe system pressure levels using a manifold gauge set. Watch for steady pressure maintenance which indicates a successful repair. Listen carefully for any unusual sounds and monitor system performance for at least 30 minutes to confirm consistent operation.
If you detect any remaining signs of leakage or pressure inconsistency, you may need to repeat the repair process or consult a professional technician. Some leaks require specialised equipment and expertise to resolve completely. Pay attention to subtle changes in system performance like reduced cooling efficiency or unexpected noise that might suggest incomplete leak repair. Document your testing process including pressure readings, detection method used, and any observations for future reference.
Expert Tip: Keep a digital log of all repair and testing activities to track your heat pump system’s maintenance history.
The table below outlines the impacts of unresolved heat pump leaks versus timely repairs:
| Leak Status | Impact on Efficiency | Safety Risk Level | Recommended Action |
|---|---|---|---|
| Unresolved | Significant energy loss | High (includes chemical exposure) | Immediate professional repair |
| Timely Repaired | Full efficiency restored | Low | Monitor and schedule routine checks |
Ensure Your Heat Pump Leak Repairs Deliver Long Lasting Results
Dealing with heat pump leaks can be stressful and costly if not addressed with precision. This article highlights the challenges of locating and repairing leaks using safe and approved methods. Whether it is spotting refrigerant residue or testing repaired components, the goal is to restore your heat pump’s efficiency and safety promptly. If you want to avoid the frustration of repeated leaks or inefficient heating and cooling, expert help is essential.

Trust our experienced team at Cool Fix for reliable heat pump installation and appliance repair services that eliminate leaks and protect your home comfort. We use industry best practices for accurate leak detection and repairs so you can breathe easy. Act now to prevent energy loss, reduce safety risks, and extend the lifespan of your heat pump system. Visit us today at coolfix.ca to schedule an inspection or learn more about our comprehensive solutions. Your comfort deserves professional care right away.
Frequently Asked Questions
How can I identify heat pump leaks during my inspection?
You can identify heat pump leaks by performing a visual inspection of all accessible components, focusing on refrigerant lines, connection points, and seals. Look for signs such as moisture, oil residue, or discoloration, and use a flashlight to illuminate dark areas for better visibility.
What steps should I take to safely access my heat pump for repairs?
To access your heat pump safely, first turn off the power at the circuit breaker to eliminate any risk of electrical shock. Then disconnect the power cord and remove any necessary panels or access covers using appropriate tools while wearing protective gear.
What methods should I use to locate the exact source of a leak in my heat pump?
To accurately locate the source of a leak, conduct a systematic inspection using visual cues like oil residue and frost buildup. You can also use a high-quality leak detection solution or an electronic refrigerant detector to find hidden leaks by checking for bubble formation at joints and connection points.
How do I repair leaks in my heat pump?
To repair heat pump leaks, use industry-recognized methods like tightening connections or applying specialized sealants compatible with your refrigerant type. For significant leaks, you may need to replace entire valve assemblies or sections of refrigerant lines, ensuring you follow manufacturer specifications for best results.
How can I confirm that my heat pump repairs were successful?
You can confirm the success of your heat pump repairs by conducting pressure tests and using an electronic leak detector on the repaired areas. Monitor the system for consistent pressure and listen for any unusual sounds after reactivating the unit, ensuring proper operation for at least 30 minutes.
What should I do if I notice ongoing leaks after repairing my heat pump?
If you notice ongoing leaks after repairs, repeat the inspection process to identify any missed areas or consider consulting a professional technician. Document your observations and previous repair attempts to aid in diagnosing the issue more effectively.
0 Comments